
Most people who train Muay Thai or kickboxing long enough hit the same wall: their kick looks fine, their technique ticks the boxes, but when it actually lands, there’s nothing behind it. Not a power problem, exactly, just a feeling that the kick stops at the surface instead of going through.
The fix usually isn’t more reps of the same thing. It’s drilling specific weak links in the kinetic chain, the hip snap, the pivot, the follow-through, that most people gloss over when they’re doing general bag rounds. Below are 5 drills that actually address those gaps.
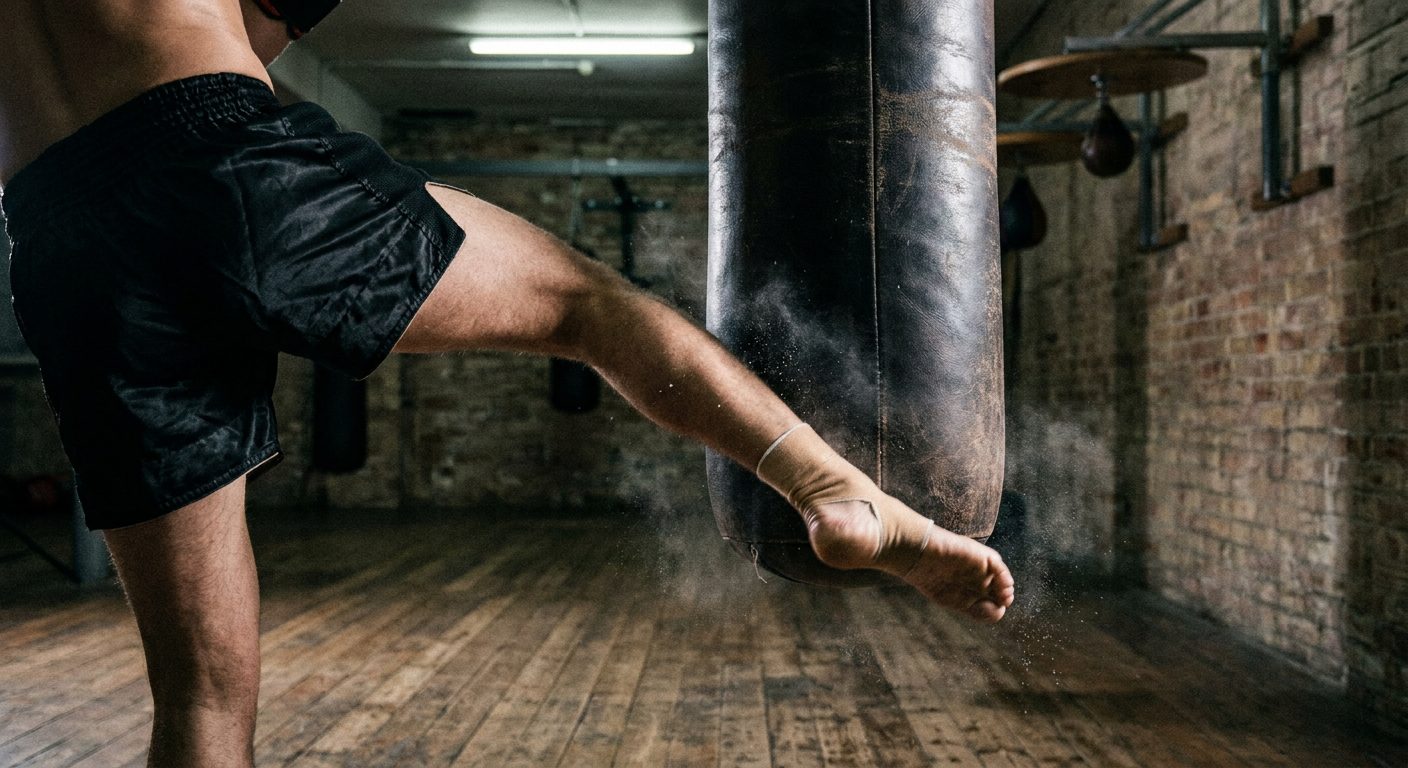
Why most kicks stay weak even after years of training
Before the drills, it’s worth understanding where power actually comes from in a kick. It’s not the leg. The leg is just the delivery mechanism. Real kicking power comes from three things working together: hip rotation, a strong base (the pivot and the grounded foot), and full extension through the target, not to it.
When one of those breaks down, the kick “arms” itself before impact. You get sound and speed but not penetration. A 2019 biomechanics study published in the Journal of Sports Sciences on roundhouse kick mechanics found that hip angular velocity, not leg speed, was the primary predictor of impact force in trained martial artists. In plain terms: you kick harder by rotating faster and fuller, not by swinging your leg harder.
That’s the lens to keep in mind for every drill below.
Drill 1: The slow-motion roundhouse with pause
This one looks too easy to do anything, which is why most people skip it. That’s a mistake.
Throw a roundhouse at maybe 30% speed, but at the moment of impact, stop. Hold the position for 2-3 seconds. Your hip should be fully rotated, your base foot pointing away from the target, your kicking leg extended (not bent). If you can’t hold that position, you’re not completing the kick. You’re bailing out early.
Do this in front of a mirror if you can. Most people discover that they pull their hip back before impact, a reflex to avoid overextension. That early pullback is exactly what’s bleeding off the power. The pause drill makes it impossible to hide.
Sets: 5 kicks each side, 3 rounds. Go slow enough to actually pause, not slow-motion-but-rushed.
Drill 2: Wall pivot drill
Stand with your shoulder touching a wall, your back foot closest to it. When you throw a roundhouse with the far leg, your back foot has to pivot. If the pivot is incomplete, your hip can’t rotate fully, and your power is capped at whatever your hip flexor strength allows, which isn’t much.
The wall gives you instant feedback. If your back foot doesn’t pivot all the way around on the ball, your heel will clip the wall. Not painful, just annoying enough that you notice it every time it happens. Within 10-15 kicks, most people’s pivots improve noticeably just from the immediate correction signal.

This drill also helps your base leg, since standing near a wall forces you to stay balanced rather than throwing your weight forward to generate momentum. Balance plus pivot equals actually controlled power, as opposed to controlled-falling-into-the-target power.
Sets: 10 kicks per side, no rush between reps. Quality over speed.
Drill 3: Dead leg roundhouse on the heavy bag
This one is uncomfortable in the right way. Start from a static stance, no chamber, no wind-up, no telegraphing, and throw a full-power roundhouse directly from your natural position. No hip-loading prep movement, just rotate and extend.
The point of eliminating the chamber is that it forces your hip to do the work. When you chamber, you naturally pre-load by hiking the hip. That’s fine in competition (you need speed), but it can become a crutch that hides a weak hip rotation. Strip it away and you’ll find out exactly how much work your hip is doing independently.
The drill name comes from how the kick feels at first: dead, heavy, like your leg weighs twice as much. That’s your body figuring out a new motor pattern. After 2-3 sessions, the kick starts to snap again, but now with more rotation behind it. The pre-loaded kick gets faster too, because the hip got stronger.
For the heavy bag, structured rounds work better than open hitting. Set a 2-minute round, throw 3-5 dead-leg kicks per side per round, then fill the rest with normal movement. Don’t fatigue the hip by doing nothing but static kicks for 5 minutes straight.
Sets: 3-minute rounds, 3-5 dead-leg kicks per side, rest of the round normal. 3-4 rounds total.
Drill 4: Kick and step-through
This drill addresses follow-through. A lot of kicks, especially on bags, stop at the bag’s surface. The foot hits, there’s a satisfying thud, and the kick stops. But in terms of power generation, you want to train the kick to go through the target, not to it.
After you throw the roundhouse, instead of pulling the leg back to stance, let it continue forward and step through into a new position on the other side of where the target would be. You’re treating the kick as the first half of a movement, not a complete movement in itself.
This changes the neuromuscular pattern. Your brain stops anticipating the stop-and-retract and starts programming the kick as something that continues past impact. When you go back to normal kicking, the follow-through improves because the expectation of stopping early has been retrained.
You can’t do this on a heavy bag without kicking it into orbit, so this drill works best on pads or shadowboxing. If you do it in shadow, visualize a target at the right distance and commit to stepping through it fully after contact.
Sets: 10 kick-and-step-through per side in shadowboxing, 3 rounds.

Drill 5: Hip-loading isolation work
This one isn’t technically a kicking drill, but it directly feeds power into all the others. Weak hip flexors and abductors are the most common reason why trained fighters plateau on kick power. The leg can only move as fast as the hip can initiate and drive it.
Two exercises that transfer directly:
Standing hip circles with a band: Loop a resistance band around the ankle, anchor the other end low. Stand on one leg and draw slow, large circles with the free leg. 15 forward, 15 backward, each side. The goal is control through the full range, especially the top of the arc where most people wobble.
Lateral band walks in fighting stance: Resistance band around both ankles, take 10-15 steps sideways in your guard stance without letting the knees cave in. This targets the abductors and glutes that stabilize your base during the pivot. Boring, and it works.
The best overview of hip-dominant training for combat sports is NSCA research on strength and conditioning for Muay Thai, which covers the hip complex in more detail if you want to go deeper on the physiology.
If you’re running these alongside your bag and pad sessions, 2 sets of each, twice per week, is enough. More isn’t necessarily better. The goal is to stimulate the pattern, not grind it to exhaustion.
How to put these drills into a session
Don’t try to do all 5 in one session, especially not at the start. Pick 1-2 and run them at the beginning of your bag work when your technique is fresh. Fatigue makes motor patterns sloppy, and the point of these drills is to build better patterns, not practice faulty ones under tiredness.
A practical weekly structure:
- Monday: Slow-motion pause drill and dead leg roundhouse (bag rounds)
- Wednesday: Wall pivot drill and hip isolation work (off-bag)
- Friday: Kick-and-step-through (shadow and pads) and normal bag session
If you train Muay Thai-specific sessions, these fit naturally at the top of your technical round block, before you move into full combinations. That’s where cross-training boxers often find the gap in their kicking: they understand combination structure from boxing but haven’t drilled the specific motor patterns that make a kick land with actual weight behind it.
Round length matters too. Short rounds of 90 seconds to 2 minutes work better for power-focused drills than long 3-minute grinding rounds. When rounds drag long, you shift from deliberate practice to survival mode, which is the opposite of what you need when you’re trying to reprogram a movement pattern. The free boxing round timer at heavybag.pro/boxingtimer/ lets you dial down round length and set custom rest periods, which makes running 90-second power rounds with proper recovery easy to manage without watching a clock constantly.
Progress signs to look for
The clearest sign these drills are working is when your bag moves differently. Not just swings more, but gets pushed with more sustained force. A kick that bounces the bag is speed and surface contact. A kick that pushes the bag back and keeps it moving is hip rotation and follow-through. You want the second thing.
Other signs: your shin stops making that flat slap sound and starts landing with a deeper impact sound, your follow-through starts to feel natural rather than forced, and the wall pivot drill stops triggering heel contact.
None of this happens in one session. The slow-motion pause drill usually shows results in 1-2 sessions. The dead leg drill takes 2-3 sessions before it stops feeling awkward. The hip isolation work takes several weeks to build a baseline you can actually feel. Be patient with that one. You won’t notice it until you go back to full kicking and realize something’s different.
For a broader look at how deliberate practice sessions work generally, this piece on why boring repetitive drills build champions covers the same principle applied to punching. The logic transfers directly to kicking work.
One thing worth knowing before you start
If your kick has a fundamental technique problem, like a severely bent knee at extension, wrong hip angle, or a base foot that doesn’t pivot at all, fix that first with a coach before doing power drills. Power drills amplify whatever pattern you already have. Running dead-leg roundhouses with broken mechanics will entrench those mechanics faster. Get the basic movement right at low power before adding force.
If your technique is basically sound and you’re just stuck at a power ceiling, that’s exactly the situation these 5 drills are designed for. Pick one, work it consistently for two weeks, and measure the difference before adding the next. Trying all 5 at once is a reliable way to feel busy without actually improving anything specific.
Track your rounds, adjust rest, and stay consistent. The kick gets better when the hip gets trained, not when the leg gets worked harder.