
Most Muay Thai beginners treat elbows as a vague finishing move, something reserved for advanced fighters or actual fights. Then they watch a clip of a Thai fighter land a short horizontal elbow in a clinch and suddenly realize it’s a surgical tool, not just a brawling weapon. Elbows are the shortest, hardest striking surface in Muay Thai, and knowing when to use each variation turns a good striker into a dangerous one at close range.
This guide covers the 6 most practical elbow variations, how the mechanics differ between them, and the specific situations where each one actually fits. We’ll also look at how to drill them solo on the bag, because while pad work is ideal for elbows, you can build real sharpness without a partner.
Why elbows are different from everything else you throw
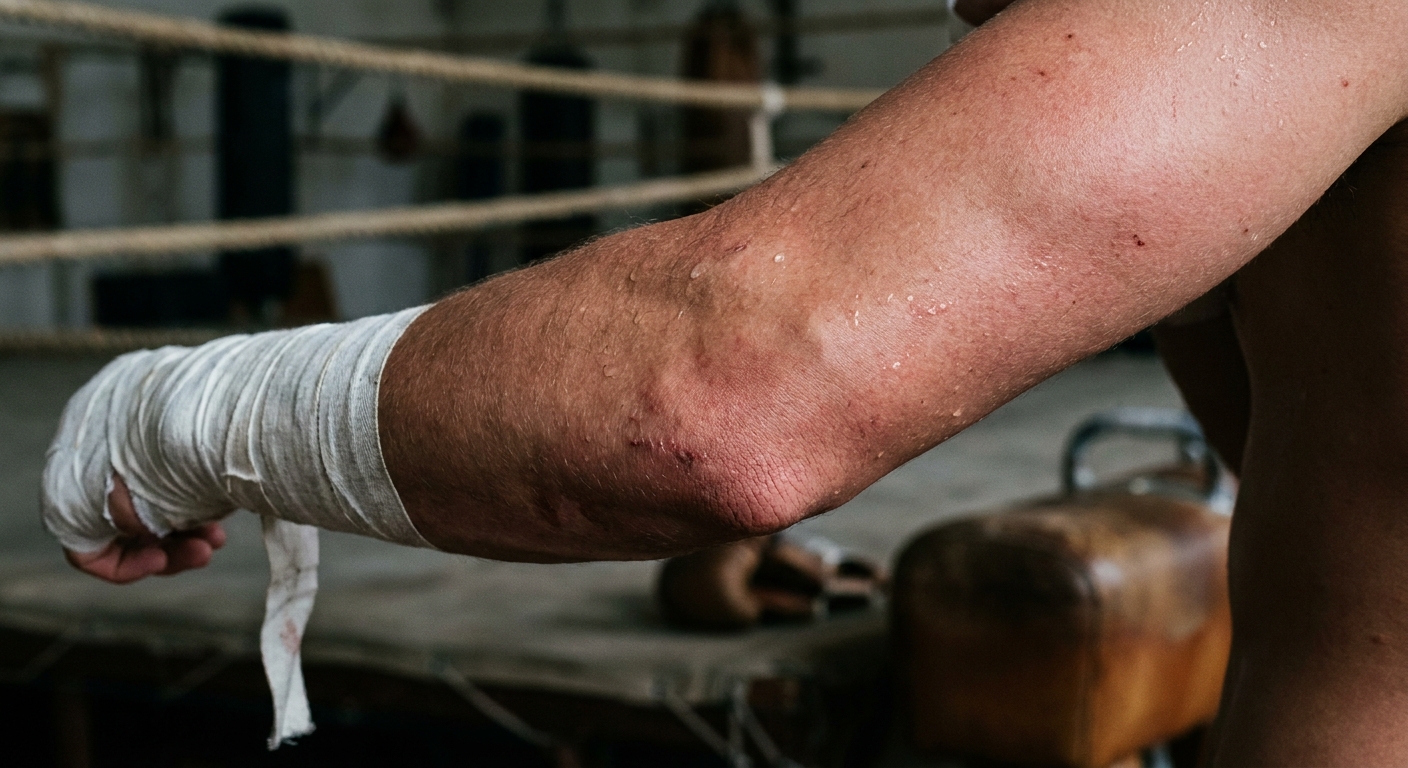
Every punch in boxing travels through a relatively predictable arc. Elbows don’t. They can come from nearly any angle, cover almost no distance, and land with the hardest bone in the upper body. The elbow joint, specifically the olecranon process (the bony point of the elbow), concentrates force into a very small surface area. That’s why even a light elbow can open a cut that a hard punch wouldn’t.
But elbows have a real limitation: range. Most are effective only when you’re already inside 18 inches of your opponent. If you try throwing them from punching distance, you miss or land with the forearm, not the point. Getting the range right is the single most common mechanical error beginners make with elbows.
For a broader look at how Muay Thai and boxing techniques interact, the Boxing vs. Muay Thai: What Skills Actually Carry Over? breakdown on this site covers range and angle differences that apply directly here.
The 6 elbow variations
1. Horizontal elbow (sok tad)
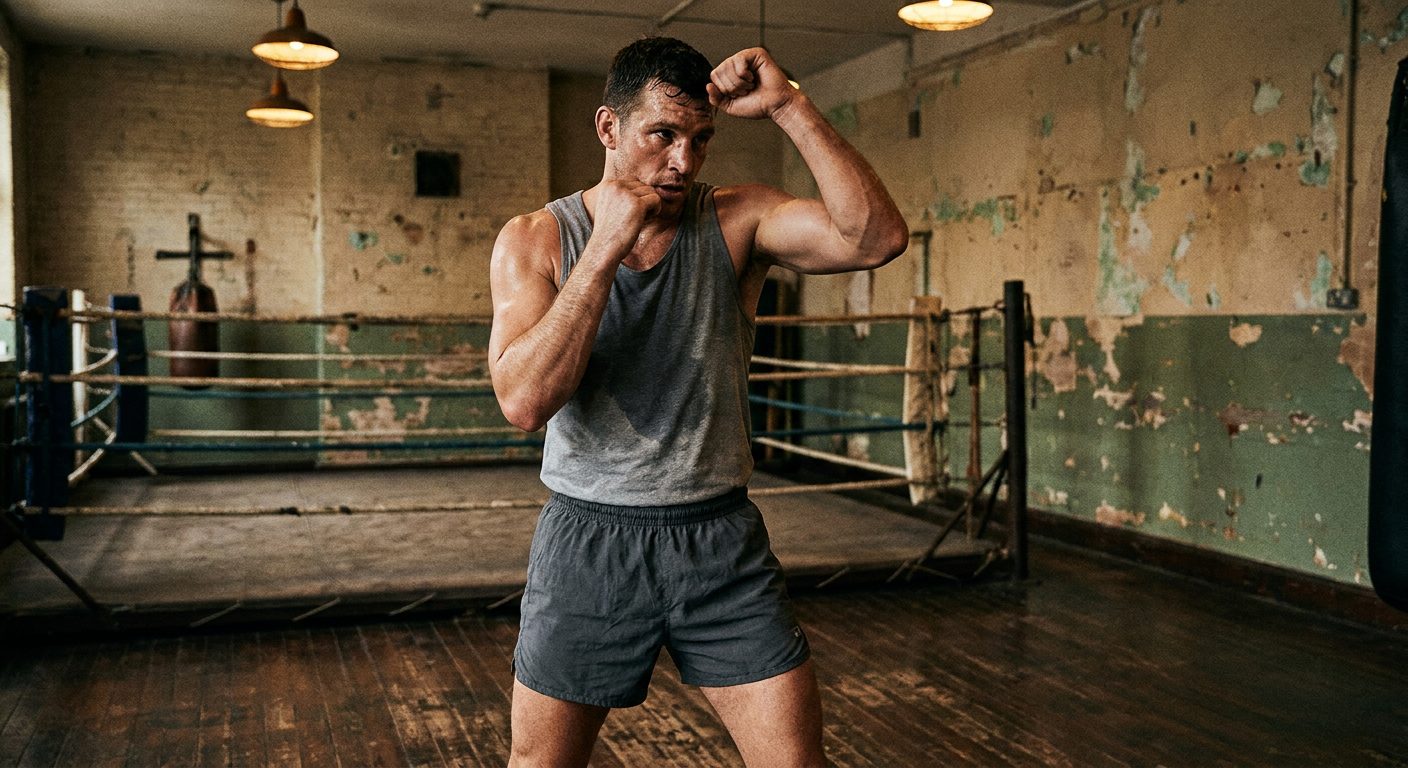
This is the most commonly taught elbow and the one you’ll use most. The arm swings horizontally across the body, leading with the point of the elbow, roughly at cheek or temple level. It works like a horizontal forearm but lands with the elbow tip instead of the forearm bone.
Mechanics: Start from your guard. Drive your lead or rear elbow across in a horizontal plane, rotating your shoulder and hip into it. The arm stays bent at roughly 90 degrees throughout. Your hand can stay near your chin or flare slightly, but the elbow point is what you’re aligning to land.
When to use it: Against someone who drops their guard or lowers their head slightly. Works well as a follow-up to a jab that moves them into your range. Also common in the clinch when you have one arm free and the opponent’s head is at the right height.
Common mistake: Telegraphing by cocking the elbow back before throwing. Keep the shoulder loose and let the rotation generate the power, not a wind-up.
2. Diagonal elbow (sok chieng)
This one travels at roughly a 45-degree angle, either downward-diagonally across the face or upward-diagonally toward the chin. The downward version is more commonly used to cut above the eyebrow. The upward version comes in under the guard and catches the chin or jaw.
Mechanics: Similar hip rotation to the horizontal, but the shoulder drops or lifts to change the plane of the strike. The elbow point still leads. For the downward diagonal, imagine drawing your elbow across and down, like slashing. For the upward, you drive the elbow up and in at an angle.
When to use it: The downward diagonal works when someone tucks their chin and lowers their head but leaves the forehead and eyebrow area exposed. The upward diagonal is effective against someone with a tight guard who covers their face but leaves space underneath.
Common mistake: Confusing this with the uppercut motion. A diagonal elbow travels diagonally on a fixed plane. An uppercut is a vertical punch. They’re different tools.
3. Uppercut elbow (sok ngad)
Straight upward, point of the elbow driving into the chin or face. If you’ve ever watched a Thai fighter catch someone coming in and just shoot a quick uppercut elbow as they close distance, this is what you saw.
Mechanics: Drop your elbow slightly, then drive it straight up like a short uppercut, but leading with the elbow point rather than the fist. Keep it compact. This works at extremely close range and is fast to throw from a natural guard.
When to use it: When the opponent ducks or dives forward at close range. When you’re in the clinch and get a slight gap. As a counter when someone shoots in or drops their head to clinch.
Common mistake: Throwing it from too far out. The uppercut elbow is a contact-range weapon. If they’re not already inside your guard, it won’t reach cleanly.
4. Spinning back elbow (sok klap)
The flashiest variation and the most dangerous to attempt incorrectly. You spin 180 degrees and drive the rear elbow back into the target, usually catching the temple or side of the head.
Mechanics: From your stance, pivot on the lead foot while spinning your rear shoulder back and through. The elbow drives into the target as you complete the spin. Timing is everything here. The spin creates rotation that multiplies power, but it also takes you off-line and exposes your back for a split second.
When to use it: As a counter when someone overextends or rushes forward. In combinations where you’ve already committed to a rotation (for example, following a rear leg kick). Not ideal as an opening move since the telegraph is fairly obvious.
Common mistake: Overrotating past the target or initiating without a clear opening. Spinning elbows that miss leave you turned away and vulnerable. Drill the mechanics slow and deliberate until the rotation becomes smooth before adding power.
5. Downward elbow (sok sab)
The elbow drops vertically, point leading, directly down onto the top of the skull, nose, or back of the neck. This one is almost exclusively a clinch or tied-up position technique, since you need to be directly over or to the side of the opponent’s head.
Mechanics: From a high position in the clinch or when you’re taller and your opponent has their head pressed forward, lift the elbow and drive it straight down. The forearm is roughly vertical. This is a short, chopping motion.
When to use it: When you have a height advantage and the opponent is pressing forward. As a counter when someone drops their head hard to clinch or shoots in at your midsection.
Common mistake: Trying to throw this at distance. If you’re not already in a position directly over or next to their head, this elbow doesn’t connect cleanly. It’s a positional weapon.
6. Reverse horizontal elbow (sok wiang glab)
The arm travels horizontally from the inside out, leading with the rear surface of the elbow. Think of it as the backhand version of the horizontal elbow. The motion goes from your centerline outward, catching the side of the head on the way through.
Mechanics: Drive the rear surface of the bent elbow from inside your guard outward, rotating the shoulder through. The elbow point still lands, but it approaches from a different angle than the standard horizontal, making it harder to read and block.
When to use it: When you’ve already thrown a horizontal elbow and the opponent moves their head to avoid it, this one catches them on the opposite side. Also works as a follow-up to any strike that causes the opponent to roll or tilt their head sideways.
Common mistake: Dropping the hand and arm first and telegraphing the direction. This works best when it flows naturally from a guard position or immediately follows another strike.

Drilling elbows without a partner
Pad work is clearly the best way to develop sharp elbow technique because the feedback is immediate and you can learn to time them off real reactions. But if you’re training solo, you can still build meaningful sharpness.
Shadow drilling: Run each elbow variation in isolation, focusing entirely on the mechanics, not speed. 10 reps lead arm, 10 reps rear arm, slow enough that you’re feeling the hip rotation and shoulder drive every time. Then add them into short 3-4 strike combinations in shadowboxing.
Heavy bag work: Elbows on a heavy bag require some restraint, since landing elbow point on a canvas or leather bag at full power will skin your elbow quickly. Wear a long sleeve or use elbow pads when doing high-rep bag work. Drill them at 60-70% power but focus on landing the actual tip, not the forearm. You’re grooving the angle and range, not going for knockout power.
Using a round timer: One of the most effective ways to drill elbows on the bag is to dedicate full rounds to specific variations. A round of nothing but horizontal elbows from different positions, then a round mixing in uppercut elbows, then a round of flow where you add elbows to any combination when the range closes. The free boxing round timer at heavybag.pro/boxingtimer/ lets you set custom round lengths and intervals, which is genuinely useful when you want longer active periods for slower technique work.
Mirror work: For the spinning back elbow especially, a mirror is valuable. You can check your rotation, see where your elbow point is landing in space, and spot if you’re overrotating and losing balance.
How elbows fit into combinations
Nobody throws just elbows. They work because they come off combinations and force opponents to deal with a weapon they weren’t expecting at that moment.
Some sequences that show up frequently in Thai boxing:
- Jab, cross, lead horizontal elbow: The jab and cross bring you into close range or move them into range. The elbow comes in as they’re processing the second strike.
- Lead leg kick, step in, rear horizontal elbow: The kick causes a reaction, the step closes distance, the elbow lands while they’re still adjusting.
- Clinch entry, downward elbow: Once tied up with one arm around the neck, the free arm delivers the downward elbow.
- Check rear leg kick, spin, spinning back elbow: A defensive check that generates rotation naturally sets up the spinning elbow if you commit to the counter.
Understanding what setups work for elbows goes hand in hand with knowing the broader Muay Thai vocabulary. The 165 MMA, Kickboxing and Muay Thai Terms guide on this site covers the Thai names for each technique if you train at a gym where those terms come up in class.
Safety and legal use
Elbows are banned in most amateur Muay Thai competitions and in all forms of amateur boxing. The rules vary significantly by promotion, country, and whether you’re fighting under IFMA rules or a local organization’s ruleset. Check your specific competition rules before assuming elbows are allowed.
In training, even light elbows carry real cut risk. If you’re drilling with a partner, use proper protection: headgear with full face coverage, and consider Thai pads or a partner wearing a shell pad for elbow work. Even padded elbows can open eyebrow cuts that end a session.
How long it takes to feel comfortable with elbows
Most people who start drilling elbows seriously see reasonable mechanical comfort in 4-6 weeks of consistent practice. What takes longer is the judgment, knowing when the range is right, reading when an opponent has stepped into your elbow range rather than just punching range. That pattern recognition comes from sparring, not solo drilling.
A useful benchmark: if you can flow between horizontal, diagonal, and uppercut elbows in shadowboxing without thinking about each one mechanically, you’re past the beginner stage. From there, it’s about building the habit of actually recognizing elbow range opportunities in live work.
Using structured rounds during bag work, with a timer tracking your intervals, helps here. It keeps you honest about how much time you spend on elbow-specific drilling versus defaulting to punch combinations.
Putting it together
Elbows are not complicated weapons, but they’re also not instinctive for anyone who came up on boxing or kickboxing. The mechanics are simple enough to learn in a single session. What takes time is building the spatial awareness to recognize when you’re in elbow range and the habit of reaching for the right variation in the right moment.
Start with the horizontal and the diagonal. Get those mechanically clean in shadowboxing and on the bag before adding the spinning or downward variations. Once those two feel automatic, the rest follow naturally because the fundamental hip-and-shoulder rotation is the same across most of them.
Elbows in the clinch, elbows off combination entries, elbows as counters: each situation rewards a different variation. The Heavy Bag Pro app lets you build custom Muay Thai training rounds with technique-specific prompts, which is one practical way to make sure elbows get real practice time in a structured session rather than just getting tacked on as an afterthought.