
“This bag has another year in it, easy.” That’s what an old trainer at a gym in East London told a student who’d noticed a split seam running up the side of their bag. He handed over a curved needle and a spool of waxed linen thread, pointed at the damage, and walked off to help someone else. The bag got fixed that afternoon. It lasted three more years.
Heavy bags tear. It happens to every bag that gets used seriously, whether it’s a $90 vinyl cylinder from an online discount site or a hand-stitched leather bag from a Mexican factory. The filling shifts. The outer layer flexes and flexes and eventually the material gives. A small split opens up, you ignore it for a week or two, and then one session the stuffing starts spilling out and the bag becomes a real problem.
Most tears are fixable at home with tools that cost under $20. People find this out too late, after the damage has spread. So here’s what works, broken into the four most common damage types you’ll encounter, plus what to do when a bag is too far gone to save.
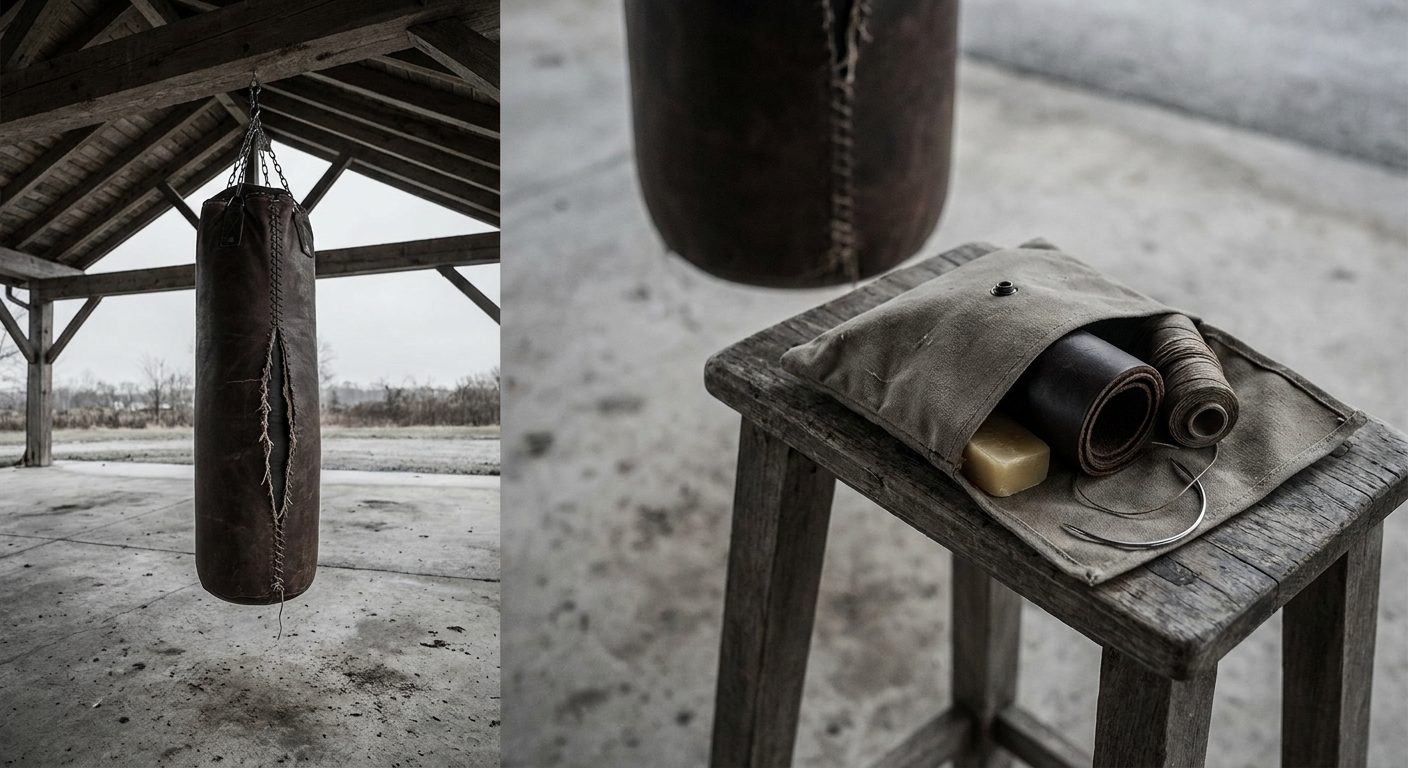
Step 1: Diagnose the damage before you touch it
Not all splits are the same and the fix depends entirely on what you’re looking at. Spend two minutes properly inspecting the bag before you start pulling things apart.
Run your fingers along every seam. Seam failures are the most common type of tear, and they almost always show up at the same places: the top seam where the bag meets the cap, the vertical side seams under punching pressure, and occasionally the bottom seam if the bag has one. Press the damaged area open slightly and check whether the stitching has pulled through the material or whether the material itself has torn between the stitching holes. These need different repairs.
Vinyl bags versus leather bags also behave differently under stress. Vinyl tends to crack in a clean line, sometimes with a sharp edge that can worsen quickly if left unstitched. Leather bags more often develop fraying and delamination, where layers of the material start separating before a full split opens. If you’re seeing white foam or fibrous material starting to poke through, the split is already open enough to need immediate attention. If you can see the inner liner but no stuffing yet, you’ve caught it early and the repair is straightforward.
Note where the damage sits. A split at head height on a bag used primarily for punch combinations tells you the punching surface is taking the most stress. A split at waist or lower usually points to kicks or the bag swinging into walls or supports. That matters for prevention, not just repair.
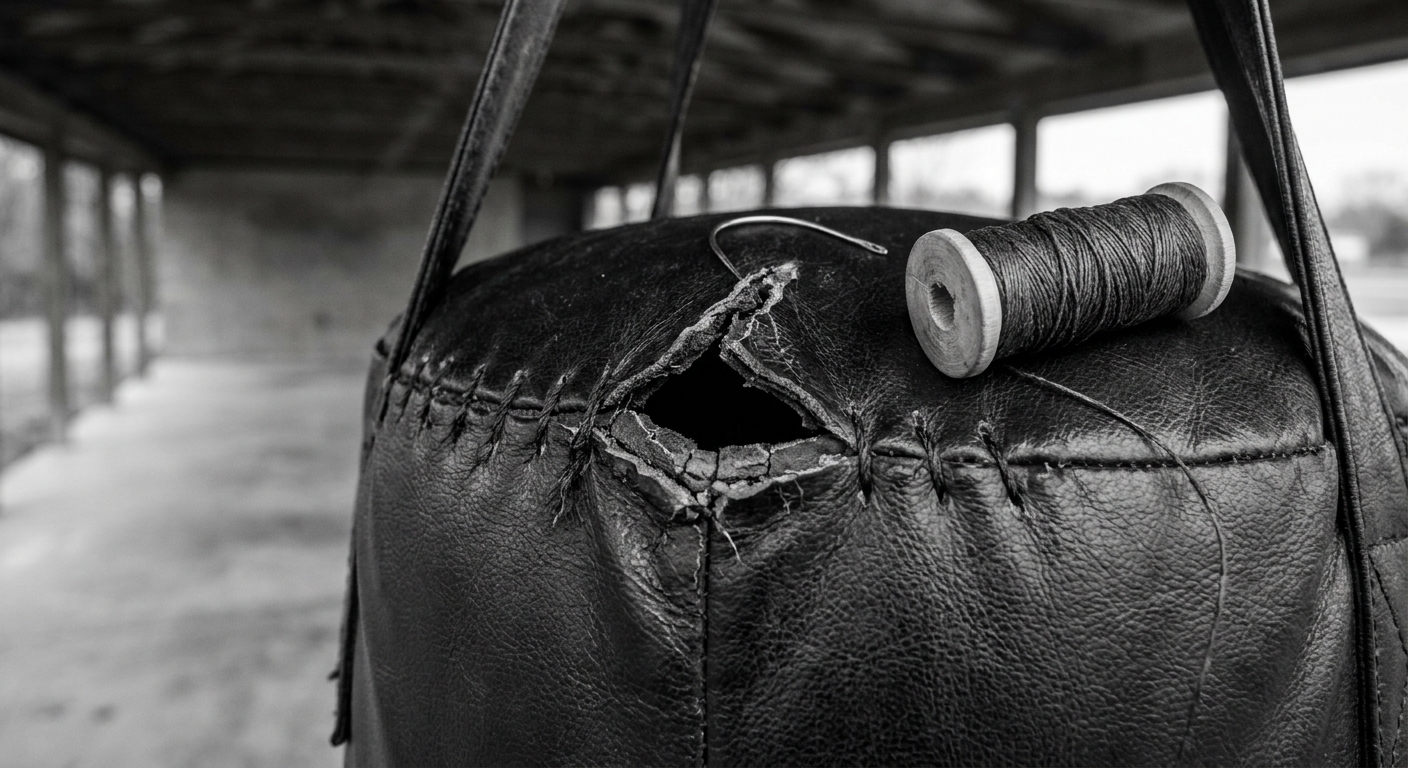
Step 2: What you need (and what to skip)
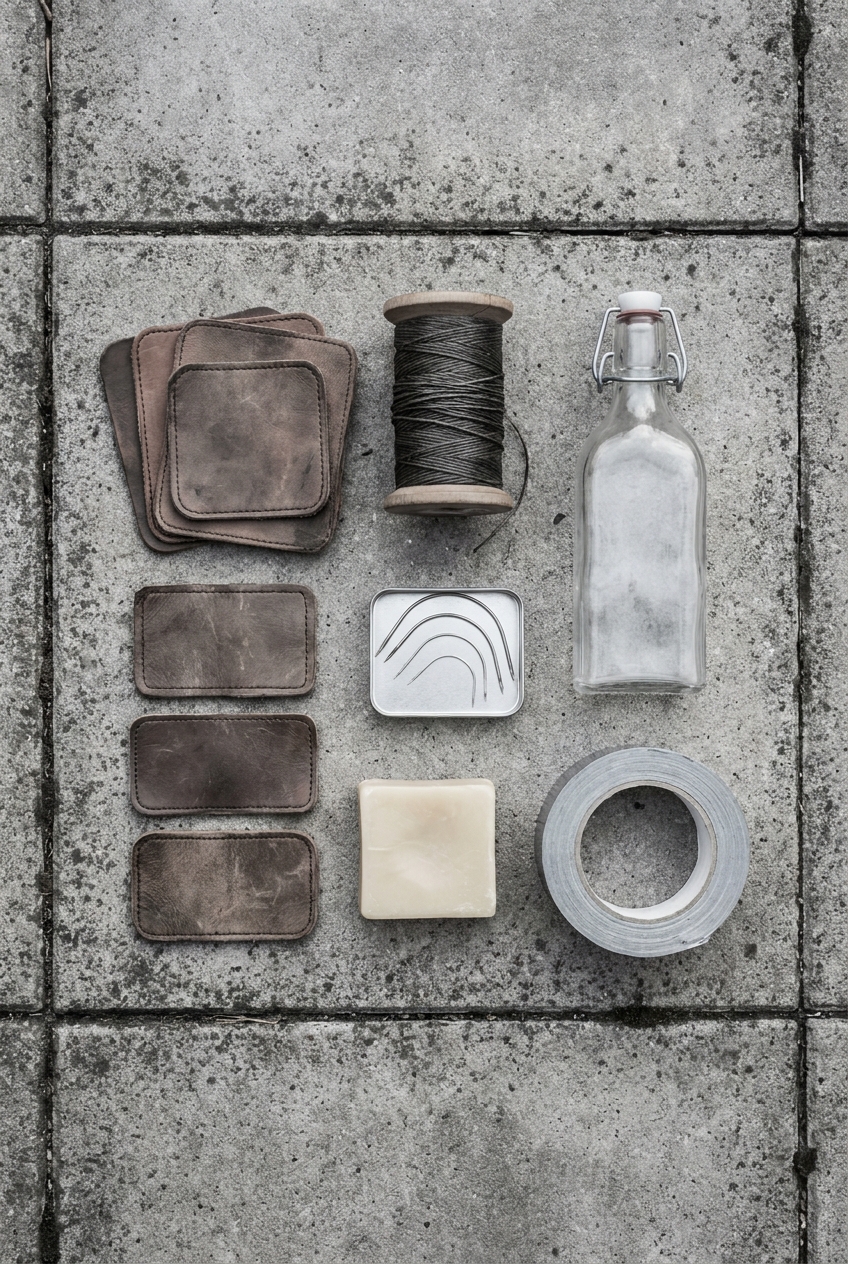
The repair kit that works for most heavy bag damage is simple. You need: curved upholstery needles (a set costs a couple of dollars at any hardware or fabric store), heavy-gauge waxed linen or polyester thread rated at least 18-weight, a thimble or a pair of pliers to pull the needle through stiff material, a leather hole punch if you’re working with a leather bag that has no existing holes to guide through, and contact cement or a leather adhesive patch for surface repairs that aren’t seam-based.
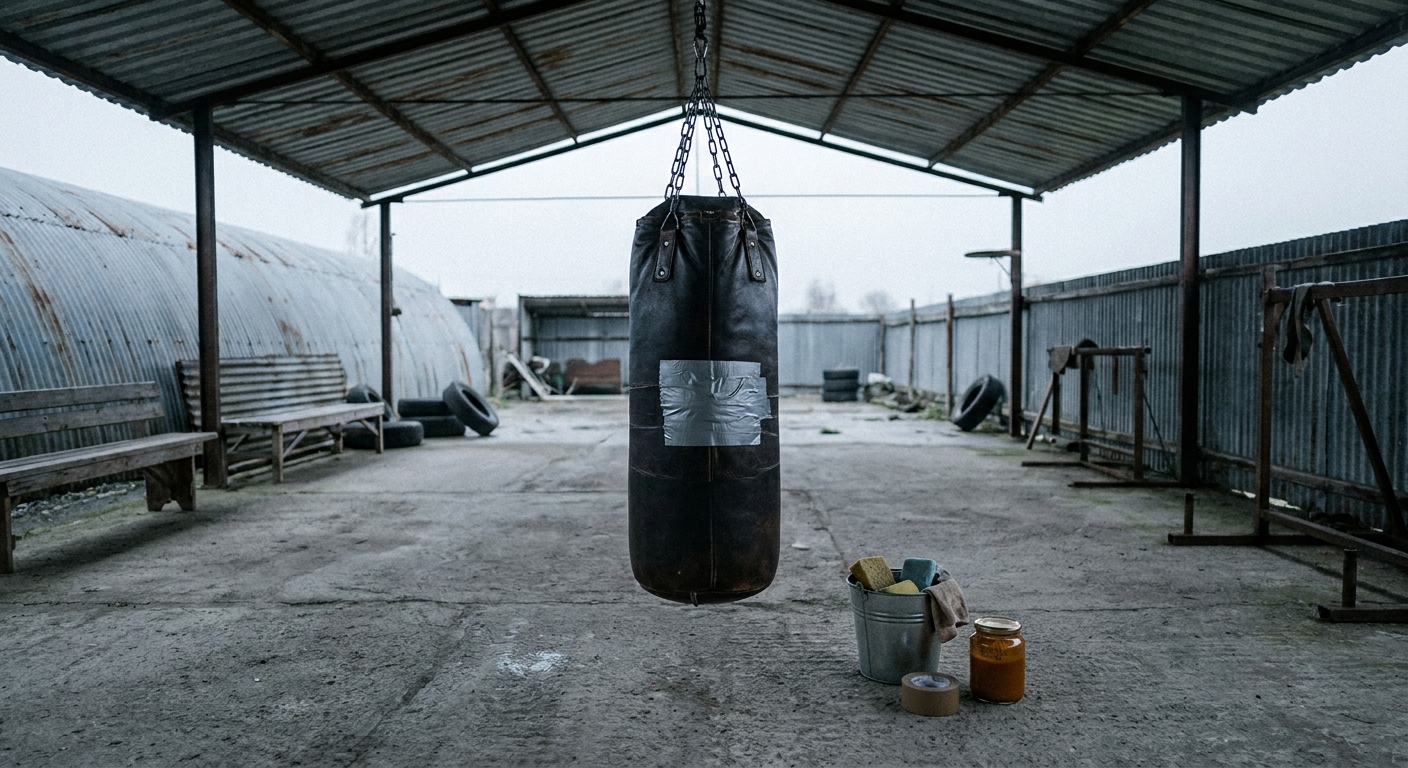
Duct tape deserves a separate mention because it’s the first thing people reach for. It works as a temporary measure to stop stuffing from escaping while you gather proper supplies, and it’s fine for a quick patch before a single session. As a permanent fix it lasts about a week before it peels, especially when the bag gets sweaty. Do not rely on it beyond short-term stopgap use.
For vinyl bags, a vinyl repair kit sold for inflatable boats or outdoor furniture works better than most boxing-specific products. The adhesive in boat repair kits is designed for high-flex surfaces under repeated stress, which is exactly what a punching bag is. Look for one at any marine supply or outdoor goods shop.
Leather conditioner belongs in the kit regardless of whether you’re doing a repair. Dry leather cracks and splits far faster than conditioned leather, and a bag that gets treated every few months after repair will hold the fix longer. Pecard Leather Dressing is one that’s been used in boxing gyms for decades. Any decent saddle soap also works for cleaning before conditioning.
Step 3: Fixing a split seam (the most common repair)
Thread your needle with about 60 cm of waxed thread. Tie a stopper knot at the end. You’re going to use a saddle stitch, not a regular running stitch, because saddle stitching locks itself: if one section breaks, the rest holds. With a running stitch, one break unravels the whole seam.
Start your needle two to three stitching holes behind where the visible split begins. This anchors the repair in undamaged material. Pull through until only a short tail remains, and hold that tail while you make your first few stitches to lock it in place. Then work toward the split, following the existing stitch holes if they’re still intact. If the original holes have torn out, you’ll need to punch new ones slightly further from the edge. Use a spacing that matches the original stitching as closely as possible.
At the end of the split, continue stitching two to three holes beyond the damage. This prevents the split from continuing to run under load. Back-stitch over your last three stitches and tie off with a square knot, then push the knot inside the seam with your needle tip so it sits flush. Trim the thread close.
Pull the seam tight as you stitch, but not so tight that it puckers the surrounding material. The stitch should close the gap cleanly. If the edges of the material have frayed, trim loose threads before stitching. You want clean edges meeting, not a fold of frayed material getting caught in the seam.
A bag that’s been stitched this way, with waxed heavy-gauge thread in a saddle stitch, will often outlast the original factory stitching. Factory stitching is done fast with lighter thread. A hand repair with proper materials tends to be stronger, not weaker.
Step 4: Patching a surface crack or puncture
Surface damage without seam failure is a different job. Here you’re not rejoining two edges, you’re covering a hole or a crack in the outer material.
For vinyl bags, cut a patch from a piece of matching vinyl about 4 cm larger than the damage in every direction. Round the corners of the patch, because squared corners lift and peel under stress while rounded ones hold. Clean the surface of the bag with isopropyl alcohol and let it dry completely. Apply contact cement to both the patch and the bag surface, wait until both surfaces are tacky (about 3 to 5 minutes, though this varies by product), then press together firmly and hold for a minute. Run your thumbnail firmly around the edge of the patch to press the bond. Let it cure for 24 hours before using the bag.
For leather bags with a surface crack rather than a seam failure, a leather filler product applied with a palette knife or flat popsicle stick can fill the crack before you apply a leather adhesive patch over the top. This layered repair is more durable than a patch alone on leather, because the filler prevents the crack from flexing open under impact and working the edges of the patch loose.
On either material, the patch should go on the outside, not the inside. People sometimes try to patch from inside the bag by shoving material through a split, but the result looks bad and the repair fails faster. Patch outside, seam if needed, condition the surrounding leather.
Step 5: When the filling has escaped or compacted
A small amount of stuffing working out of a split is normal and fine to deal with alongside the repair. You push it back in, stitch up, done. The problem is when the bag has been used for months with a slow leak, or when the filling has compacted badly and created dead spots that punch flat instead of giving proper resistance.
If you need to open a bag to repack it, the top cap seam is the correct place to open. Take out the chain and swivel hardware, restitch the top seam after unpacking. This is more work but it gives you full access to the filling. Refilling with rags, old clothing, or commercial bag filling is all documented in a separate guide to filling a heavy bag from scratch.
For bags where the compaction is severe but the outer is still intact, some people cut a small slit in an inconspicuous spot near the bottom, push additional material in, then patch the slit. This works when you need to restore weight and density without fully opening the bag. It’s not elegant but it functions.
Step 6: Prevention that extends bag life
Three things destroy bags faster than anything else: UV light, moisture, and being left to sit on the ground. Bags hung outdoors in direct sun crack within months. Bags stored in damp garages develop mould inside the filling, which creates a smell problem but also compromises the structural integrity of the material. Bags that sit on the floor between sessions develop pressure damage at the bottom seam.
A bag cover for outdoor storage is not optional if the bag lives outside. Even a simple canvas wrap will extend the life of an outdoor bag significantly. For indoor bags in damp environments, a dehumidifier in the room helps more than any product you can apply to the bag itself.
Hand wraps matter for bag life as well as hand protection. Bare-knuckle training on a bag accelerates surface wear. The oils and acids in sweat break down vinyl and leather faster than strikes alone. Properly wrapped hands with gloves on also distribute impact more evenly, reducing point stress on the bag surface. Training with worn-out gloves, where the padding has collapsed and the shot is basically hitting knuckle-to-bag, also speeds up surface damage considerably.
Condition leather bags every two to three months, more often in dry climates. A bag that’s slightly tacky and supple from conditioning will flex under impact rather than cracking. A dry, stiff leather surface transmits the full force of the blow to the stitching and material rather than absorbing it. Pecard Leather Dressing has been a staple in boxing gyms for decades, and their leather care page outlines the conditioning process in plain terms for anyone maintaining athletic equipment.
If you’re tracking rounds on a timer, you can also regulate the intensity of bag work more precisely. Heavy bag sessions with a structured round-by-round approach, like the intervals you can set up in the free boxing round timer at heavybag.pro/boxingtimer/, tend to be less chaotic than free-form training and put less random stress on the bag. Sprint-and-collapse training where someone hammers one spot for five minutes straight concentrates damage. Structured work distributes it.
When to stop repairing and replace the bag
Some bags are worth saving and some are not. A bag that has one or two seam splits from years of use is worth repairing. A bag that has five separate splits, a compromised inner liner, compacted filling that’s turned into a solid lump, and a bottom seam that’s pulling away from the cap is a bag you’re going to spend a Saturday repairing and then find another problem a month later.
The practical test is this: is the repair addressing one discrete failure, or are you chasing a structural decline across the whole bag? One repair, even a slightly complex one, is worth doing. If you’re making repairs in three different places on the same bag in the same session, the bag has passed its useful life.
Hanging bags that have seen five or more years of regular training, especially vinyl bags, often develop a general surface degradation where the material is cracking all over rather than splitting in one location. No patch fixes general material degradation. That’s a replacement job.
Before buying a replacement, check what failed on your old bag and why. A bag that split at a seam after two years of daily training simply wore out through use. A bag that split at a seam after eight months means either the original stitching quality was poor or the bag was mounted incorrectly and taking impact at a bad angle. The guide to stabilizing bag drift and swing covers how mounting problems create uneven stress on bags and how to correct them before they damage a new bag the same way.
Check whether your bag is under warranty. Several manufacturers including Everlast, Title, and Ringside carry one-year or multi-year warranties on their bags for manufacturing defects. A seam that fails after six months of normal use may qualify, especially if you document the failure clearly. Worth a call before you pay for materials or a replacement.
For home gym setups that need a structured training approach alongside proper bag maintenance, the complete home boxing gym setup guide covers everything from hanging hardware to floor space to what gear is worth the money.