You don’t need a warehouse or thousands of dollars to build a solid home boxing gym. I’ve seen people create amazing training setups in spare bedrooms with $200 and others blow $2,000 on equipment that gathers dust. The difference isn’t money spent but smart planning.
The biggest mistake? Trying to buy everything at once. Start small, train consistently, then add gear as you figure out what you actually use. Your first month will teach you more about your training preferences than any equipment review.
Budget Breakdown: Three Levels of Home Boxing Gyms
The Starter Setup ($100-$300)
This budget covers real boxing training, not wishful thinking. Skip the flashy catalogs and stick to what actually matters:
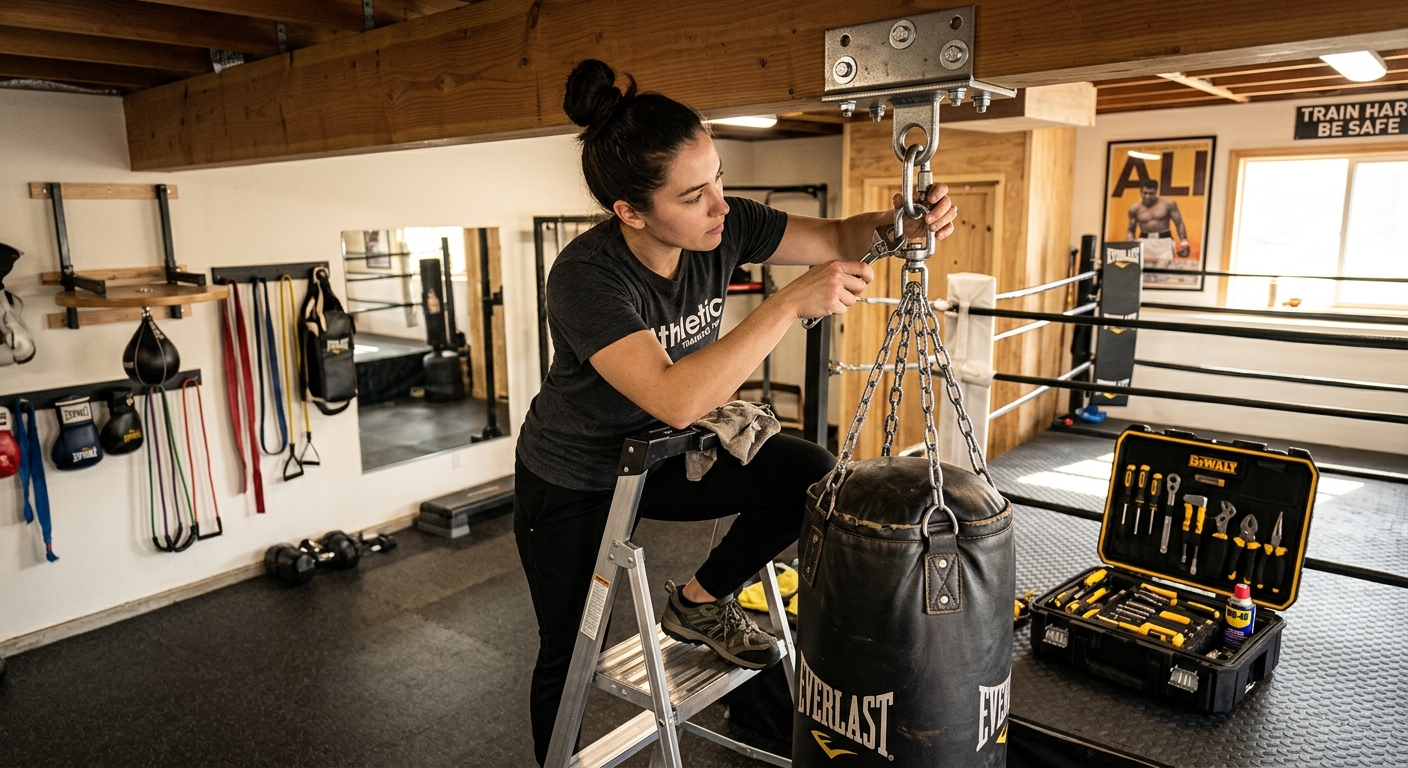
Basic heavy bag setup – A 70-pound synthetic leather bag runs around $80-120. Mount it on a ceiling beam if you have one, or get a basic stand for $60-80. The bag doesn’t need to be fancy. It needs to be heavy enough that it won’t swing wildly when you hit it.
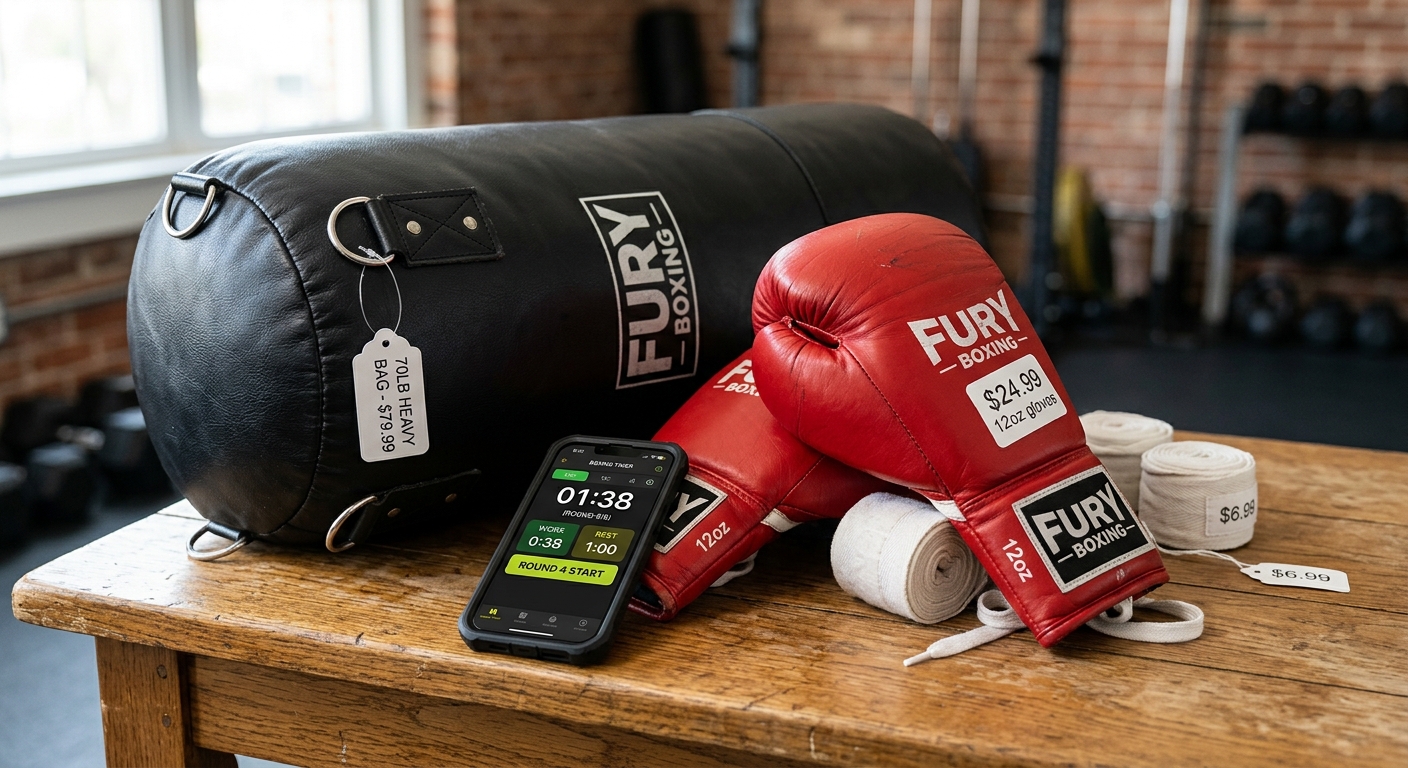
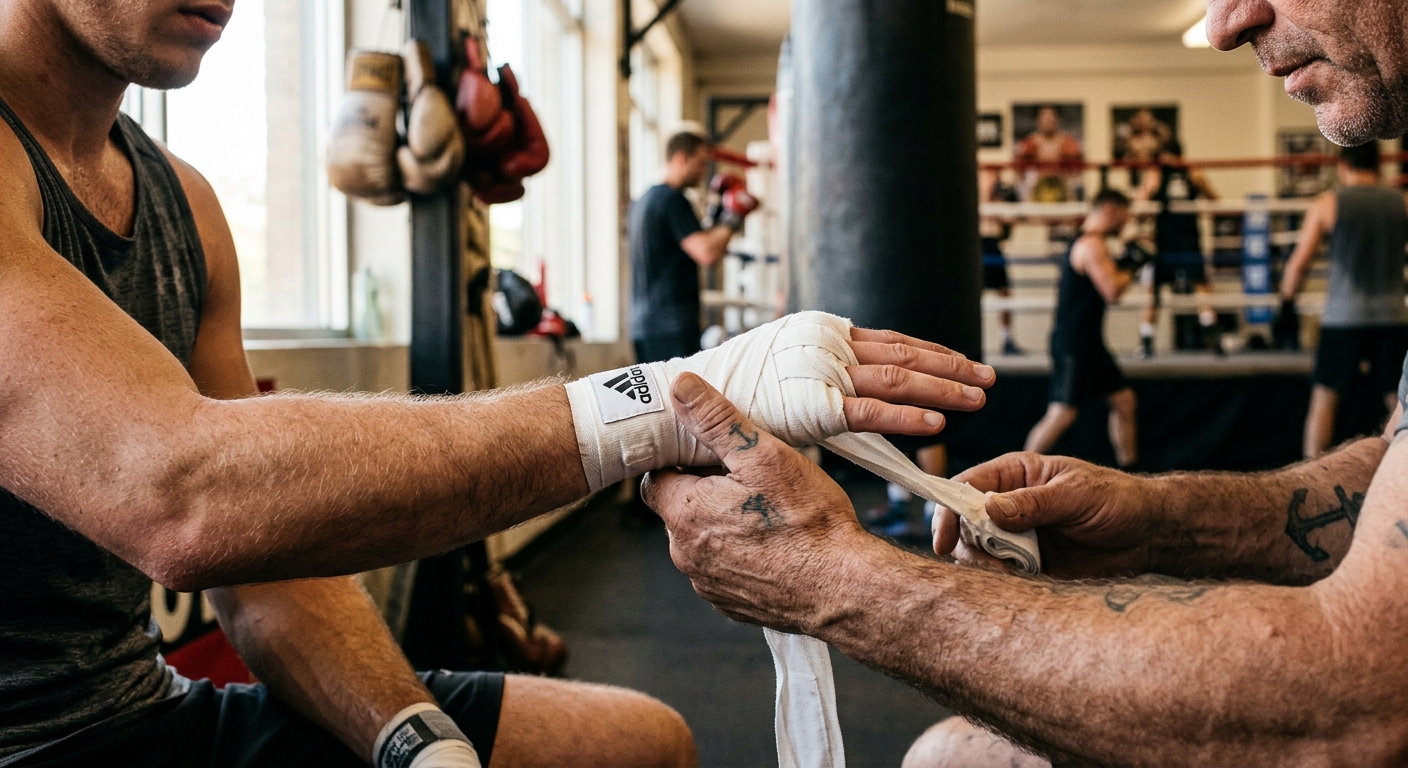
Hand wraps and gloves – Quality 180-inch cotton hand wraps cost $10-15. Boxing gloves in the 12-14 oz range run $40-80. Don’t cheap out here since injured hands end training sessions fast.
Timer app – Heavy Bag Pro turns random bag beating into actual boxing rounds. The timing makes all the difference between a workout and just hitting stuff. Plus the combination prompts teach real boxing instead of flailing around.
This bare-bones setup handles 90% of your boxing training needs. You can throw combinations, work on power, build cardio, and learn proper form. Everything else is bonus.
The Intermediate Setup ($300-$600)
Once you’re hooked on training (and trust me, you will be), these additions take your home gym to the next level:
Speed bag platform – A good platform costs $100-150. Speed bags teach hand-eye coordination and rhythm that heavy bags can’t match. Mount it at chin height on a sturdy wall.
Double-end bag – These $40-60 bags bounce back when you hit them, teaching accuracy and timing. You’ll need ceiling and floor anchors, but the movement simulation is worth it.
Jump rope – A leather or PVC rope ($15-25) adds essential footwork training. Ten minutes of jumping equals the cardio burn of much longer runs.
Mirror wall – Large gym mirrors cost $30-50 each. Seeing your form while shadow boxing catches bad habits before they stick. Mount them where you have space to move around.
The Advanced Setup ($600-$1,000+)
If boxing takes over your fitness routine (it happens), these additions create a legit training space:
Adjustable heavy bag system – Higher-end bags with adjustable heights and different striking surfaces run $200-400. You can practice everything from body shots to uppercuts at the proper angles.
Professional hand wraps and multiple gloves – Mexican-style hand wraps, different weight gloves for different training, and backup pairs for when your main gloves need to dry out.
Reflex bag – Those teardrop bags that swing back at you run $80-150. They’ll humble you fast but teach timing better than any heavy bag.
Foam flooring – Interlocking gym mats protect your joints and define your training area. Budget $100-200 depending on space size.
Space Planning: Making It Work Anywhere
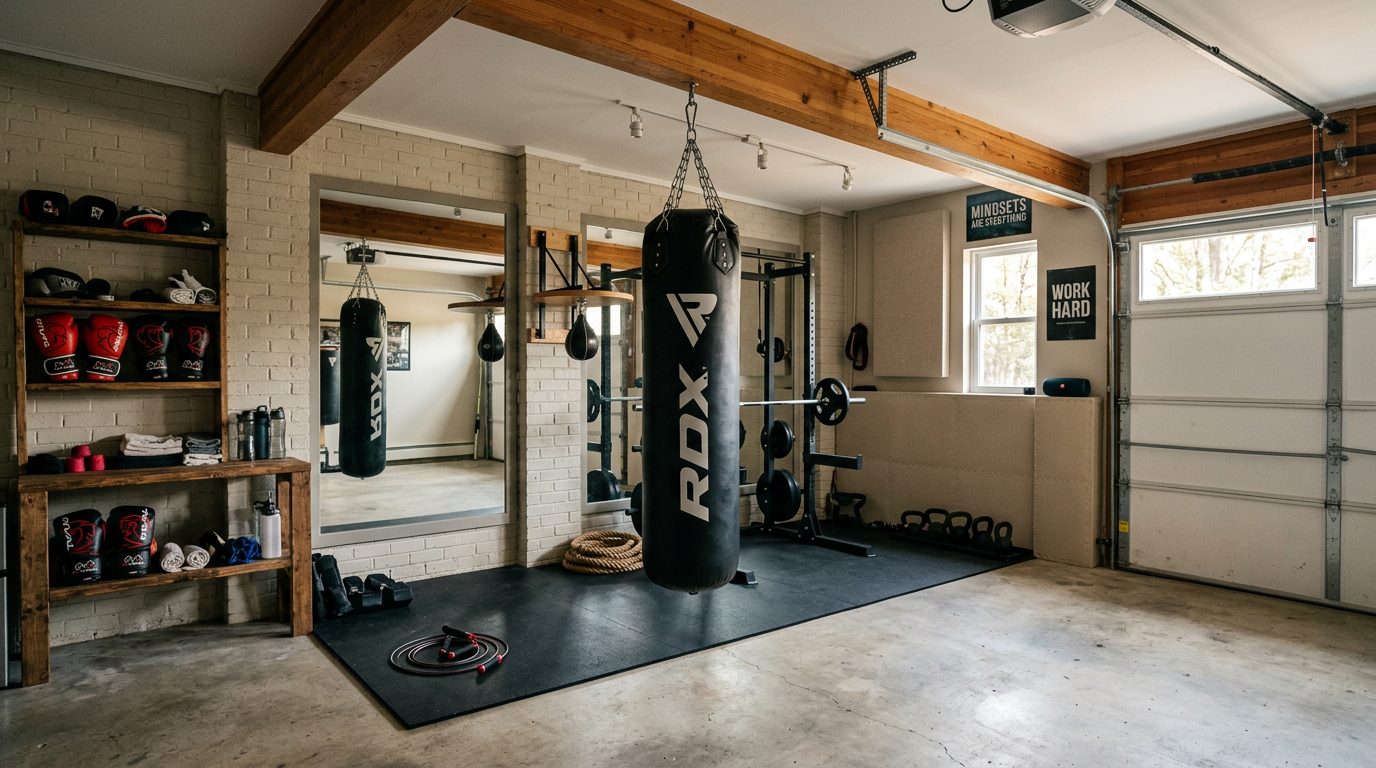
Garage Gyms
Garages are perfect for boxing because you need vertical clearance more than floor space. A 10×10 area gives you room for a heavy bag, some movement, and storage for smaller equipment.
Temperature swings are brutal in garages. Summer sessions in 90-degree heat will destroy you without a fan and lots of water. Winter is easier since you warm up fast, but cold muscles injure easily.
Mount your heavy bag from a ceiling beam if possible. Garage door tracks work too if the structure can handle repeated impact. Test your mounting point with a few hard shots before committing to a full workout.
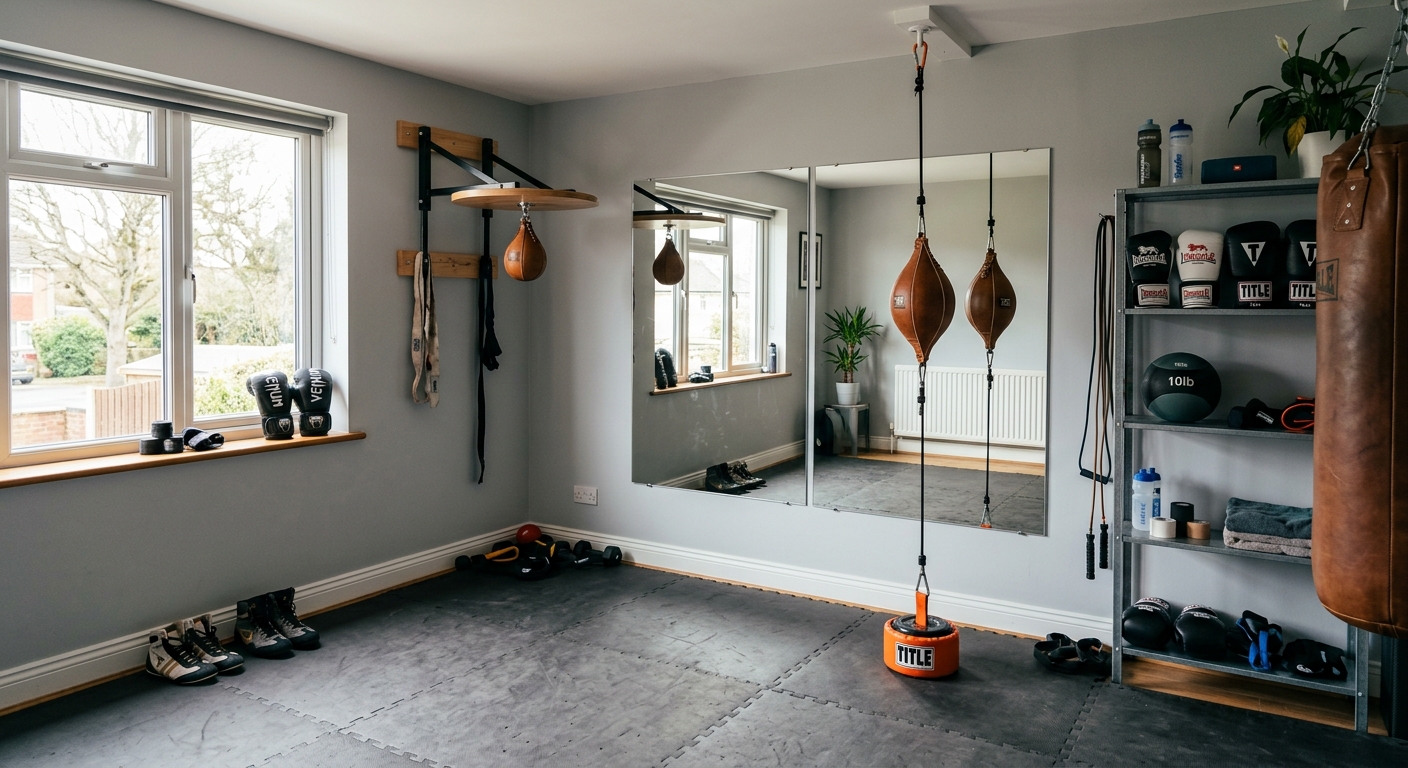
Spare Room Conversion
Indoor rooms offer year-round comfort but require more planning. Measure ceiling height first – you need at least 8.5 feet for most heavy bag setups. Standard residential ceilings work fine.
Noise becomes a bigger factor indoors. Rubber floor mats help absorb impact sounds. If you live in an apartment or have neighbors below, focus more on shadowboxing, speed bag work, and pad training rather than heavy bag sessions.
Consider the room’s other uses too. Equipment that folds or stores away lets you maintain a guest room or office that doubles as a boxing gym.
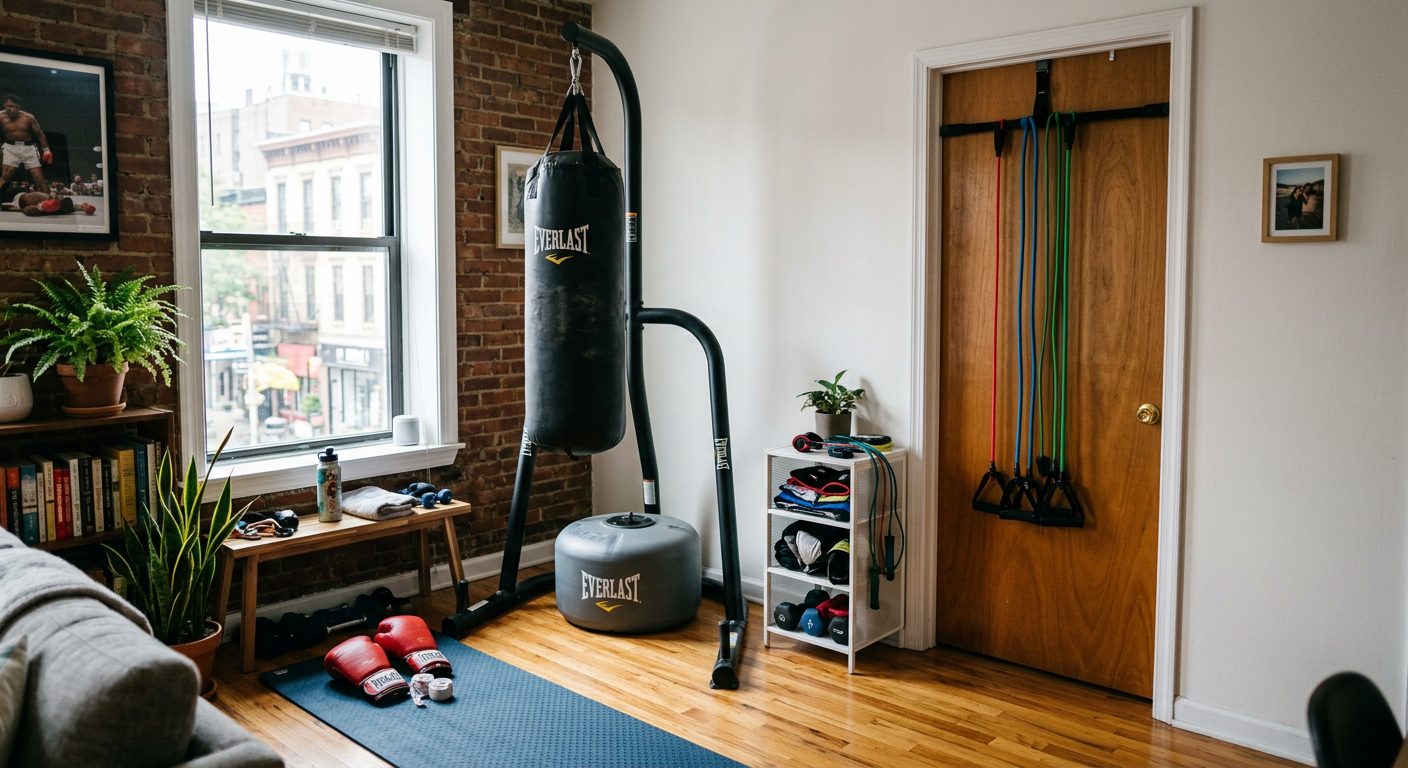
Apartment Boxing
Small spaces just change your approach. You can still train seriously without permanent fixtures:
Free-standing heavy bag stands work in apartments but need enough weight to stay stable. Look for stands that hold sandbags or water for additional stability.
Resistance bands replace some heavy bag training for building punching power. Attach them to doorways for striking practice.
Shadowboxing becomes your main training method. Heavy Bag Pro’s shadowboxing modes keep the intensity up even without a physical target.
Equipment Deep Dive: What Actually Matters
Choosing the Right Heavy Bag
Weight matters most. Too light and the bag swings around uselessly. Too heavy and it won’t move enough to feel natural. Here’s the breakdown:
- 100 pounds and under: Good for technique work and lighter punchers
- 100-150 pounds: The sweet spot for most home gyms
- 150+ pounds: Professional level, requires serious mounting
Filling affects feel more than you’d expect. Synthetic materials create consistent density. Fabric-filled bags feel softer but pack down over time. Sand-filled bags hit harder but can develop dead spots.
Shape changes your training focus. Traditional cylindrical bags work for everything. Angled “uppercut bags” let you practice body shots. Human-shaped bags target specific strike zones but cost more and take up extra space.
Glove Selection Strategy
Brand names don’t hit the bag for you. Focus on fit and protection:
Size by purpose – 12 oz for heavy bag training, 14-16 oz for sparring (if you ever get there), 8-10 oz for speed work. Most home gyms start with 12 oz as the all-around choice.
Closure type – Velcro gloves go on and off easily for solo training. Lace-up gloves provide better wrist support but need someone to tie them.
Padding density – Firmer padding protects your hands better on heavy bags. Softer padding feels more comfortable but breaks down faster with repeated impact.
Spend $60-100 on gloves that won’t fall apart after 6 months. Cheap gloves are false economy when your hands are on the line.
Hand Wraps: The Foundation
Hand wraps are non-negotiable for any serious training. They support your wrists and knuckles while absorbing sweat that would otherwise destroy your gloves.
Length matters – 180 inches is standard and works for almost everyone. Shorter wraps don’t provide enough protection. Longer wraps are unnecessary for most people.
Cotton wraps absorb sweat better and last longer than synthetic materials. They cost a few dollars more but stay comfortable through entire workouts.
Learn proper wrapping from videos. Bad wraps are worse than no wraps because they give false confidence while providing no protection.
Training Apps: Your Digital Coach
Heavy Bag Pro stops random bag beating and teaches actual boxing. The round timer keeps you honest, the combination calls teach real technique, and the rest periods prevent overtraining.
I can’t stress enough how much difference structure makes. Without guided combinations, you’ll develop bad habits that become harder to fix later. The app keeps you learning real boxing instead of just getting tired.
Three-minute rounds with one-minute rest match what actual boxers train with. Your conditioning improves steadily instead of plateauing from random workouts.
Works for shadowboxing too if you don’t have equipment yet. Consistency beats gear every time.
Safety and Maintenance: Keeping Your Gym Functional
Injury Prevention
Most boxing injuries happen from stupidity, not equipment problems. Always wrap your hands before gloves go on. No shortcuts, even for “just a quick session.”
Warm up properly before hitting anything. Shoulder rolls, arm circles, light shadowboxing. Cold joints tear easily and heal slowly.
Learn the difference between good hurt and bad hurt. Sharp pain in wrists or knuckles means stop now. Muscle burn means you’re working.
Equipment Maintenance
Heavy bags need periodic inspection for wear spots or tears. Synthetic bags last longer but can develop weak points where repeated strikes land. Rotate the bag occasionally so impact spreads evenly.
Glove care extends their life significantly. Always air-dry gloves after training. Stuff newspaper inside to absorb moisture and maintain shape. Replace hand wraps regularly since they absorb most of the sweat and impact.
Check mounting hardware monthly for any loosening or wear. A heavy bag falling during training can cause serious injury. Retighten bolts and inspect chains or straps for wear points.
Progressive Training: Growing With Your Setup
Month 1: Foundation Building
Start with basic straight punches (jab, cross) and simple footwork. Focus on proper form over power. Three-round sessions build base conditioning without overwhelming recovery.
Heavy Bag Pro’s beginner programs guide you through fundamental combinations while teaching proper timing. The structured rounds prevent overtraining while building consistency.
Month 2-3: Combination Development
Add hooks and uppercuts to your arsenal. Learn to throw 3-4 punch combinations smoothly. Increase to 4-5 round sessions as conditioning improves.
Introduce defensive movements like slipping and ducking between combinations. This starts developing the reflexes that make boxing training more realistic.
Month 4+: Advanced Integration
Incorporate all punch types into flowing combinations. Add footwork patterns that move around the bag rather than just standing in front of it.
Start mixing power rounds with technical rounds in the same session. Heavy rounds build strength and conditioning. Technical rounds develop precision and speed.
Common Mistakes and How to Avoid Them
Mistake #1: Buying everything upfront – Master the basics first. Adding complexity too fast just creates confusion.
Mistake #2: Skipping technique – Poor form causes injuries and limits progress. Heavy Bag Pro teaches actual boxing, not wild swinging.
Mistake #3: Training randomly – Sporadic intense sessions don’t build anything. Consistent moderate training beats occasional heroic efforts.
Mistake #4: Overtraining – Just because your gym is always there doesn’t mean you should use it daily. Rest days matter.
Making Your Investment Work Long-Term
The best home gym is the one you actually use. Start with equipment that matches your current commitment and available space. Upgrade later when boxing becomes a habit, not a hope.
Buy versatile equipment first. A good heavy bag handles power training, cardio, combinations, and stress relief. That beats buying specialized gear that sits unused.
Don’t skip the training app component. Heavy Bag Pro provides coaching structure that keeps workouts productive. Equipment gets you started, but programming keeps you improving.
Your gym should evolve with your interest in boxing. Start basic, train regularly, add equipment as you discover what you enjoy most. Technical work, power development, or pure cardio – the right setup supports whatever direction you go without breaking the bank.
Visit heavybag.pro/boxingtimer/ to get started with structured round timing that makes any home boxing setup more effective.