
The average boxing gym membership in the US runs somewhere between $100 and $200 per month. Twelve months of that, and you’ve spent more than a decent used car. Which makes it genuinely surprising how many people assume a home setup has to cost twice as much to be worth anything at all.
A spare bedroom can become a functional, frustration-free training space for under $300. Not a compromise setup. Not a “good enough for now” placeholder. A real space where you can wrap your hands, hit the bag, work footwork and shadowboxing, and come out of a session feeling like you trained hard. This breakdown covers what to buy, what to skip, what you’ll regret, and how to sequence the spend so you don’t blow the budget on day one.
Understand the real problem before you buy anything
The single biggest mistake in home gym setups is buying in the wrong order. Gear shows up on the doorstep. Some of it doesn’t fit the room. Some of it requires anchoring that the ceiling won’t support. By the time you’ve sorted it out, you’ve spent $400 and the room still doesn’t work as a training space.
A spare bedroom introduces specific physical constraints that a garage or basement doesn’t share. Ceiling height matters a lot. Most residential bedrooms sit at 8 feet, which is workable but not generous, and anything hanging from the ceiling needs at least 7 feet of clearance below the hook to swing without hitting the floor. Wall studs may not be positioned where you’d want them. Flooring is almost certainly carpet or hardwood, neither of which is ideal for pivoting or footwork drills without some kind of mat layer on top.
The floor plan matters too. A heavy bag on a stand needs roughly 6 to 8 feet of clearance around it in every direction you’ll move. Cram it against a wall and you cut off one full quadrant of your footwork. Before ordering anything, pull out a tape measure and walk the room. Mark where the bag will live, where you’ll shadowbox, and where you’ll stretch. Rooms that look large enough on paper often reveal awkward dead zones once furniture is factored in.
Understanding these constraints first, before any money changes hands, is what separates a $300 setup that works from a $300 collection of stuff in the corner.
Diagnose which pieces you need
The floor plan and ceiling height you measured determine the core equipment decision: hanging bag versus free-standing bag versus bag stand. Each option has a different ceiling requirement, floor footprint, and price point, and choosing the wrong one for the room is where most bedroom setups go sideways.
A hanging bag requires a ceiling joist or a dedicated wall-mounted bracket. In a spare bedroom, most people don’t want to drill into joists, and ceiling joists in residential construction may not be directly accessible without opening drywall. If you can’t hang, a free-standing bag or a stand becomes the only viable option. Free-standing bags like the Century BOB or the Everlast PowerCore have a significant floor footprint and tip during hard combinations, which can scratch hardwood and disturb the floor below. A bag stand, where the bag suspends from a horizontal beam anchored to uprights, usually has a smaller footprint and is more stable than a filled free-standing bag.
Within the $300 budget, a decent entry-level bag stand runs $80 to $130 (brands like Ringside and Title both have options in this range). A 70-pound canvas or synthetic leather heavy bag runs $60 to $100. That leaves $70 to $120 for everything else, which is enough to cover gloves, wraps, and flooring if you shop correctly and don’t buy duplicates of things you don’t need yet.
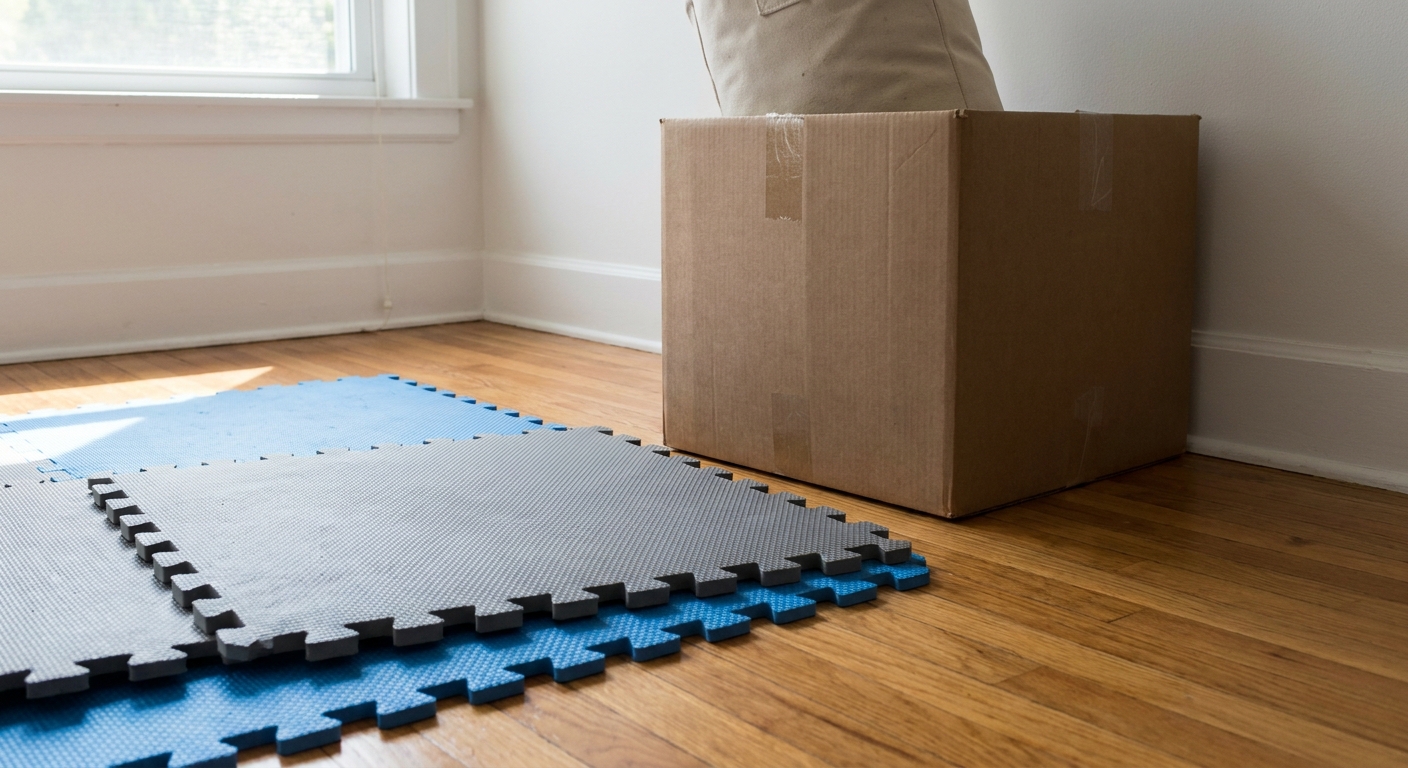
Spare bedroom floors deserve specific attention. Rolling out interlocking rubber floor tiles, the standard 24-inch square EVA foam variety, protects hardwood from glove drops, provides grip for pivoting, and muffles some of the impact sound. A 6-by-6-foot mat area under and around the bag costs roughly $30 to $50 for the tiles alone. Skip this and you’ll regret it within a week, especially if there’s anyone in the room below you.
Build the $300 spend in sequence
Here is the order that works and why it works. Buying out of sequence creates the problems described above.
First: floor and space ($30 to $50)
Lay the mats before the bag arrives. You want to know exactly where the bag will land, how much room you have to move, and whether the mat edges are going to be a tripping hazard. EVA interlocking tiles are cheap, easy to cut with a box cutter, and do not require adhesive. Get them down, walk the space, confirm your footwork zone, then order the bag.
Second: bag and stand ($140 to $220)
The stand and bag together are the biggest single spend. A Ringside Apex Bag Stand retails around $120. An Everlast 70-pound heavy bag runs around $80 to $90. That’s $200 to $210 for the core unit. If the budget is tight here, look at secondhand options on Facebook Marketplace or Craigslist, where used 70-pound bags show up regularly for $30 to $50. The bag itself doesn’t wear out quickly if it was looked after. The stand matters more for structural stability and is worth buying new.
If ceiling clearance allows, a wall-mounted bracket instead of a floor stand saves $80 to $120 and gives you a steadier swing pattern. The article on mounting a heavy bag safely covers the bracket installation process in detail, including load ratings and joist-finding methods.
Third: gloves and wraps ($40 to $60)
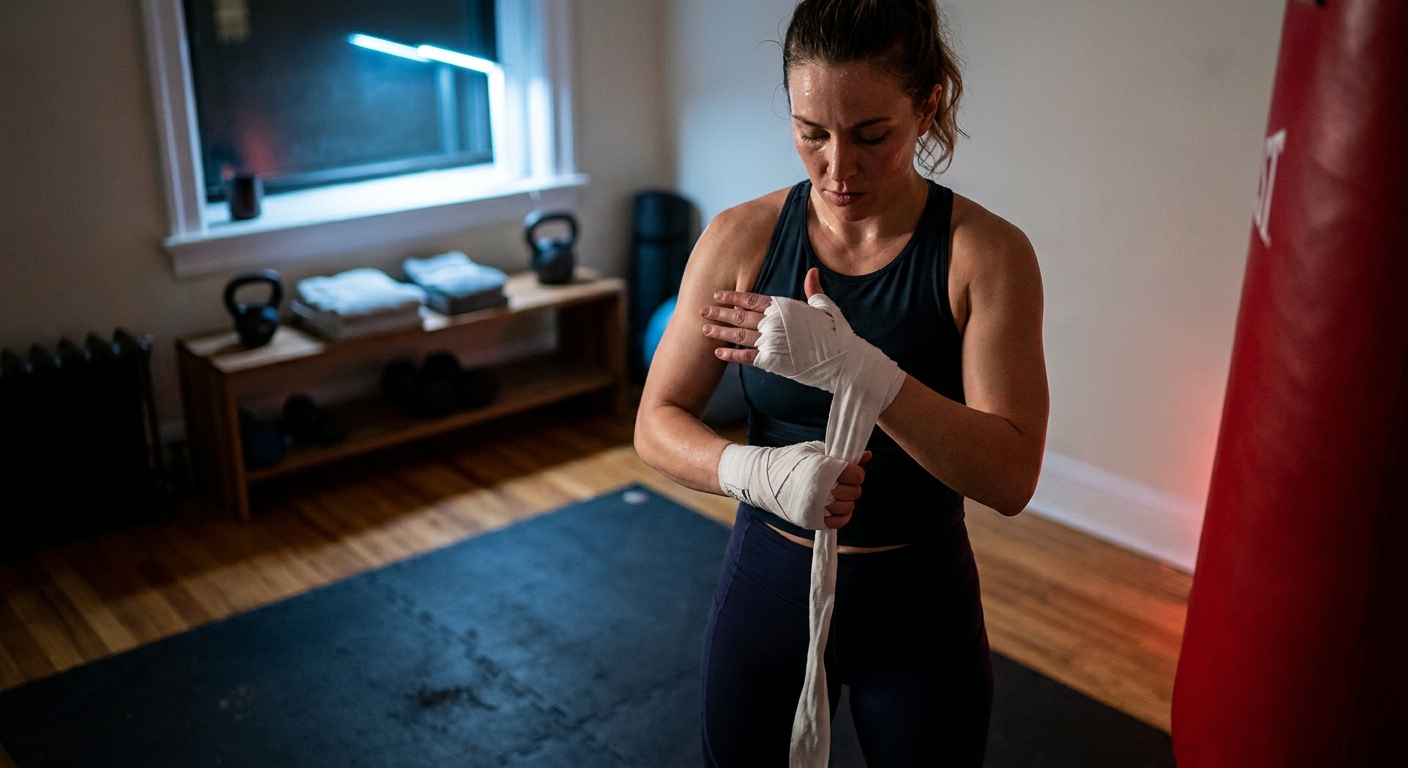
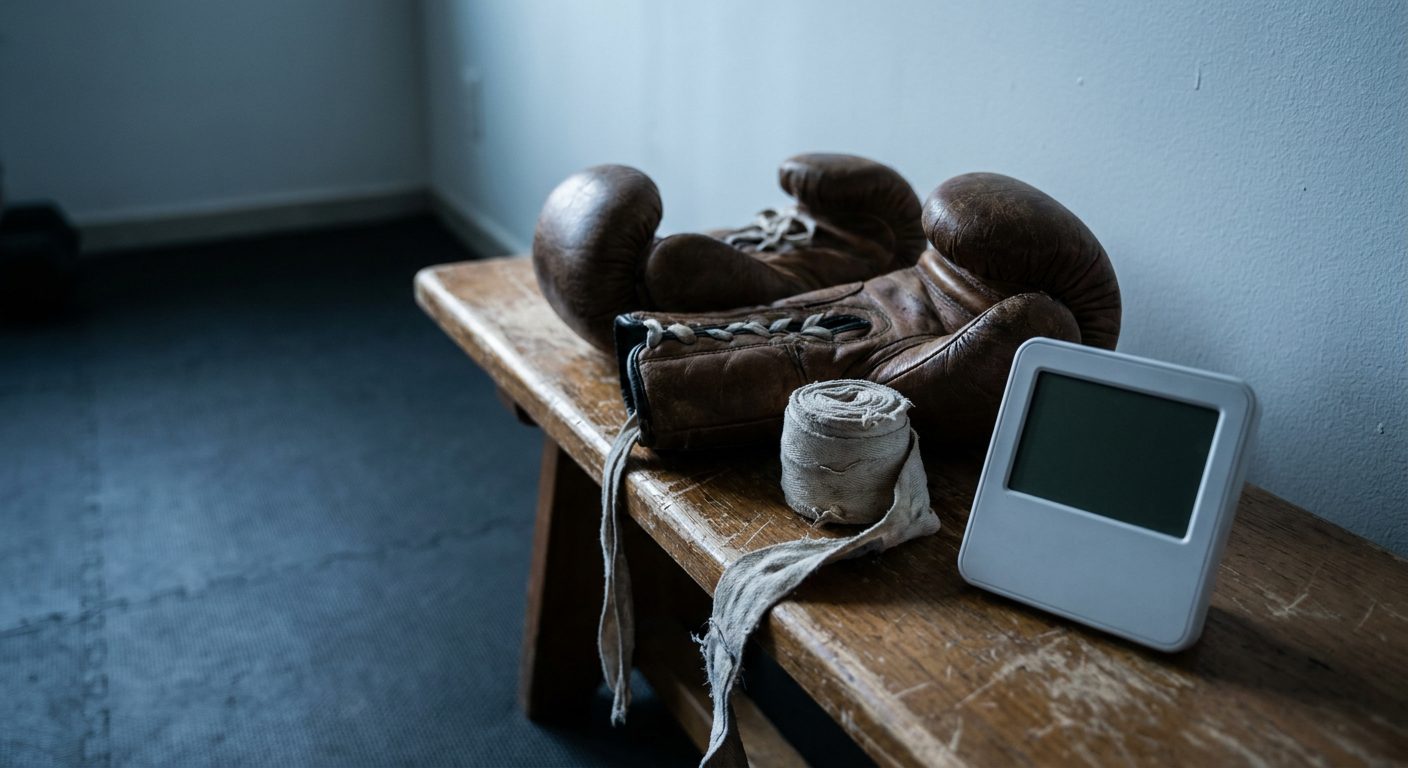
For bag work in a home setup, 12 oz to 14 oz bag gloves are the right range. 16 oz sparring gloves are overkill for solo bag sessions and will cost more. Venum Contender gloves run around $40. Fairtex BGV1 are around $65 to $75 and worth the stretch if the budget allows. Wraps are non-negotiable, not optional: cotton Mexican-style wraps, 180 inches, cost around $8 to $12 per pair. Get two pairs so one is always dry.
You do not need a jump rope, resistance bands, a double-end bag, a speed bag platform, a mirror, or any of the other items that home gym advice lists tend to pile on. Those are second-phase purchases for after the core setup is working. Buying them first pushes the bag budget down and often means you end up with an underpowered setup and a drawer full of accessories you don’t use yet.
Total, realistic spend:
- Mats: $35 to $50
- Bag stand: $100 to $130 (or wall bracket $20 to $40 if mounting is possible)
- Heavy bag: $70 to $90 (or $30 to $50 secondhand)
- Gloves: $35 to $65
- Wraps (2 pairs): $18 to $24
- Total: $258 to $359, with room to come in under $300 if the bag is sourced secondhand
A 2023 analysis published in the Journal of Strength and Conditioning Research found that home-based resistance and bag training produced comparable cardiovascular and neuromuscular adaptations to gym training when session structure was consistent. The gear doesn’t need to be expensive. The structure does.
Make the training happen in the space
A room with gear in it is not a gym. The difference between a home setup that gets used and one that collects dust comes down to structure, and structure in solo training comes from a timer.
The standard heavy bag session format, round intervals of two to three minutes with one-minute rest, is hard to track mentally when you’re fatigued. If you’re counting in your head, you’re not focused on the work. A dedicated boxing round timer removes that cognitive load entirely, leaving all attention for technique. The free tool at heavybag.pro/boxingtimer/ handles this without any signup or install; set your round length, rest period, and number of rounds, and it runs the session for you.
The wall or door behind the bag matters for shadowboxing. A full-length mirror turns a spare bedroom into a form-correction tool that most commercial gyms don’t even provide: you can watch your guard, your shoulder position, your head movement, and your footwork in real time. A cheap frameless bathroom mirror from IKEA or Home Depot runs around $20 to $30 and screws directly to drywall. It doesn’t need to be mounted to a stud if it’s lightweight. Most people overlook this upgrade. It’s one of the highest-value additions for improving technique without a coach present.
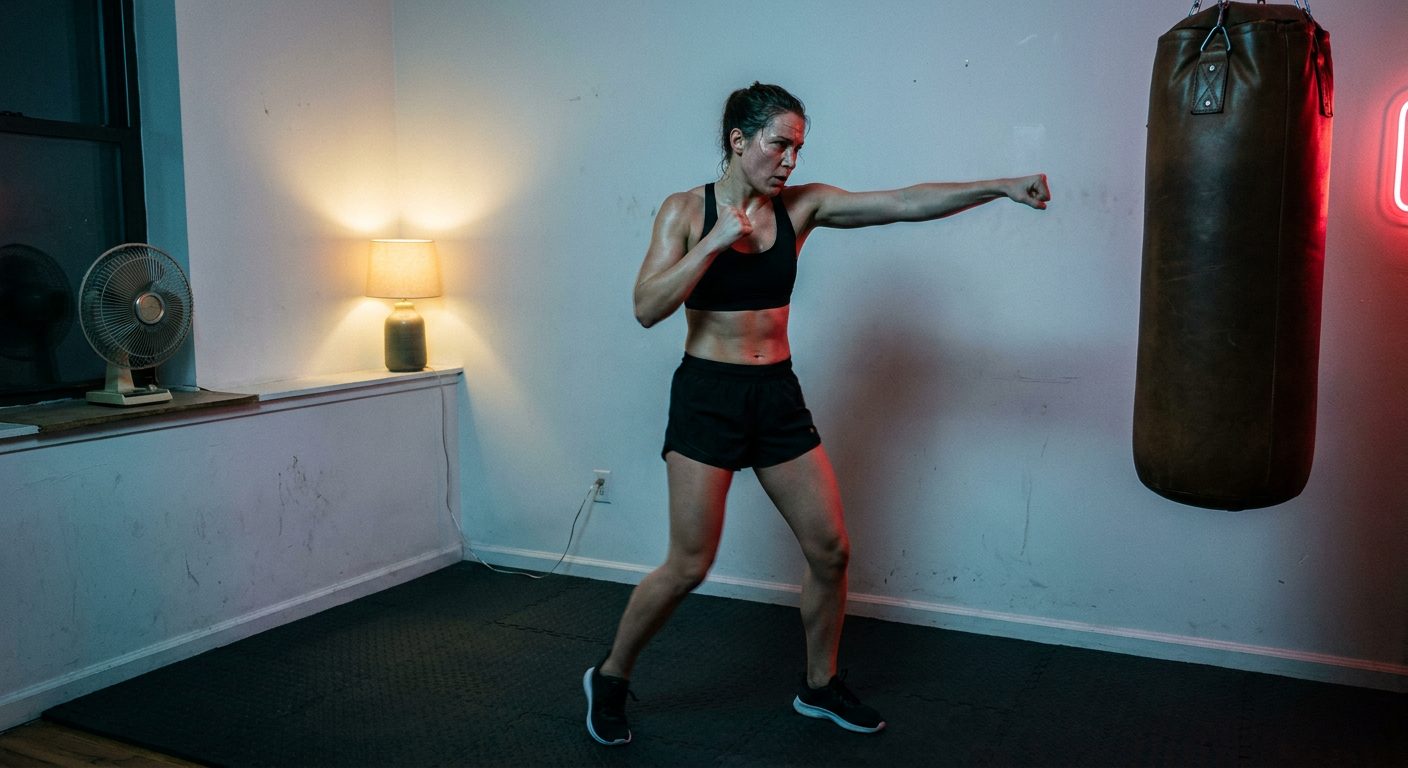
Ventilation is worth thinking about too. Spare bedrooms frequently have one window and one vent. After two hard rounds on the bag, the room heats up fast, especially in summer. A small desk fan ($15 to $25) pointed at the training area and a cracked window is enough to make a session comfortable rather than miserable. Small detail, but it determines whether you want to train in the room or dread going in.
What to skip and what to add later
The home gym sales funnel is aggressive. Punch trackers, smart gloves with embedded sensors, wall-mounted mirrors with coaching software, and modular cable systems all look appealing in ads. At the $300 budget level, none of them belong in the cart.
The full cost comparison between gym membership and home training lays out the long-term economics clearly. The short version: the break-even point on a home setup versus a mid-range gym membership usually lands somewhere in the three-to-five-month range. After that, every month saves money. But only if the initial setup was built around what you’ll use, not what looks good in a YouTube tour.
Phase-two additions, things to buy six months in when the core setup is embedded in your routine:
- Double-end bag ($30 to $60): improves timing and counter-punching. Requires a ceiling hook and a floor anchor, easier to install after you’ve confirmed the room works for you.
- Jump rope ($15 to $30): adds cardio and coordination work without extra floor space. A Velites Fire 2.0 is the standard pick for people who want something that won’t tangle constantly.
- Boxing shoes ($50 to $100): relevant if you’re drilling footwork seriously. On a mat surface, cross-trainers work fine for the first several months.
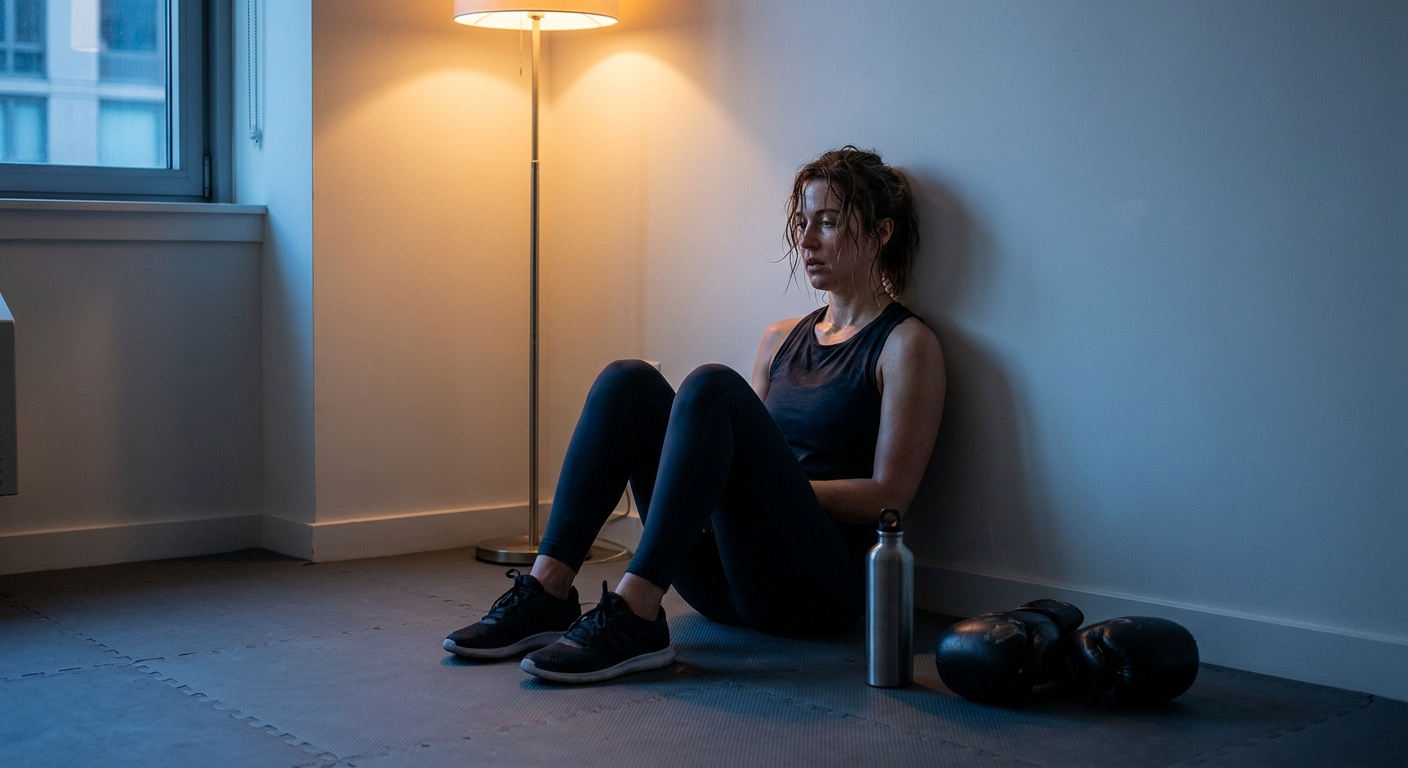
The article on setting up a home boxing gym on any budget goes deeper on equipment categories and the scaling logic from beginner setup to intermediate. Worth reading once the $300 core is in place and you’re thinking about what to add next.
A spare bedroom gym at $300 is not a compromise. Set it up in the right sequence, keep the budget on the gear that matters, and it becomes the training space you’ll use consistently, which is more than can be said for plenty of much more expensive setups that never quite come together.