
Most beginners can throw a jab within their first week. The cross takes longer, not because it’s technically harder, but because the mechanics are counterintuitive. Everything about a good cross happens before your fist leaves your chin. Get that part wrong and you’re swinging with your arm, burning energy, and telegraphing your punch to anyone who’s paying attention.
This guide breaks down exactly how power travels from the floor to your fist, the common errors that kill that power chain, and the drills that actually fix them.
Why most crosses don’t work
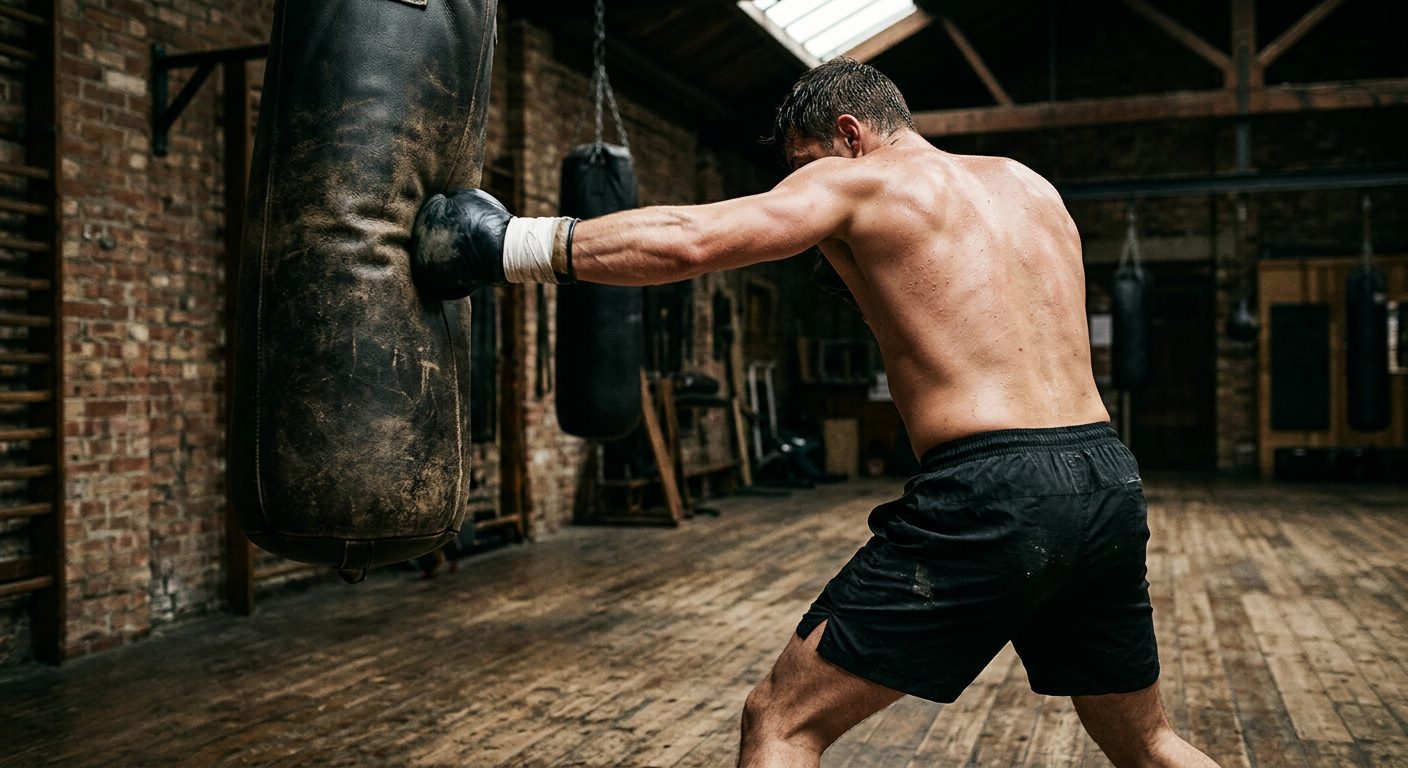
Watch any beginner spar and you’ll see the same thing over and over: they chamber their right hand, lean forward, and shove it at their opponent. The punch lands with maybe 30% of what it could be. Their feet stay flat. Their hips don’t move. Their shoulder is doing all the work.
That’s arm punching. It looks like a cross. It isn’t one.
A real cross is a whole-body movement driven by the floor. The sequence is: back foot heel raises, back knee drives inward, hip rotates forward, torso rotates to follow, shoulder drives the arm, fist lands at the end. Interrupt any step in that chain and the punch gets weaker at every subsequent link. Most people interrupt it at step one by keeping their heel on the ground.
The kinetic chain from foot to fist
Think of throwing a cross as a whip, not a push. A whip generates force at the handle and delivers it at the tip. Your foot is the handle. Your fist is the tip.
Step 1: The back heel
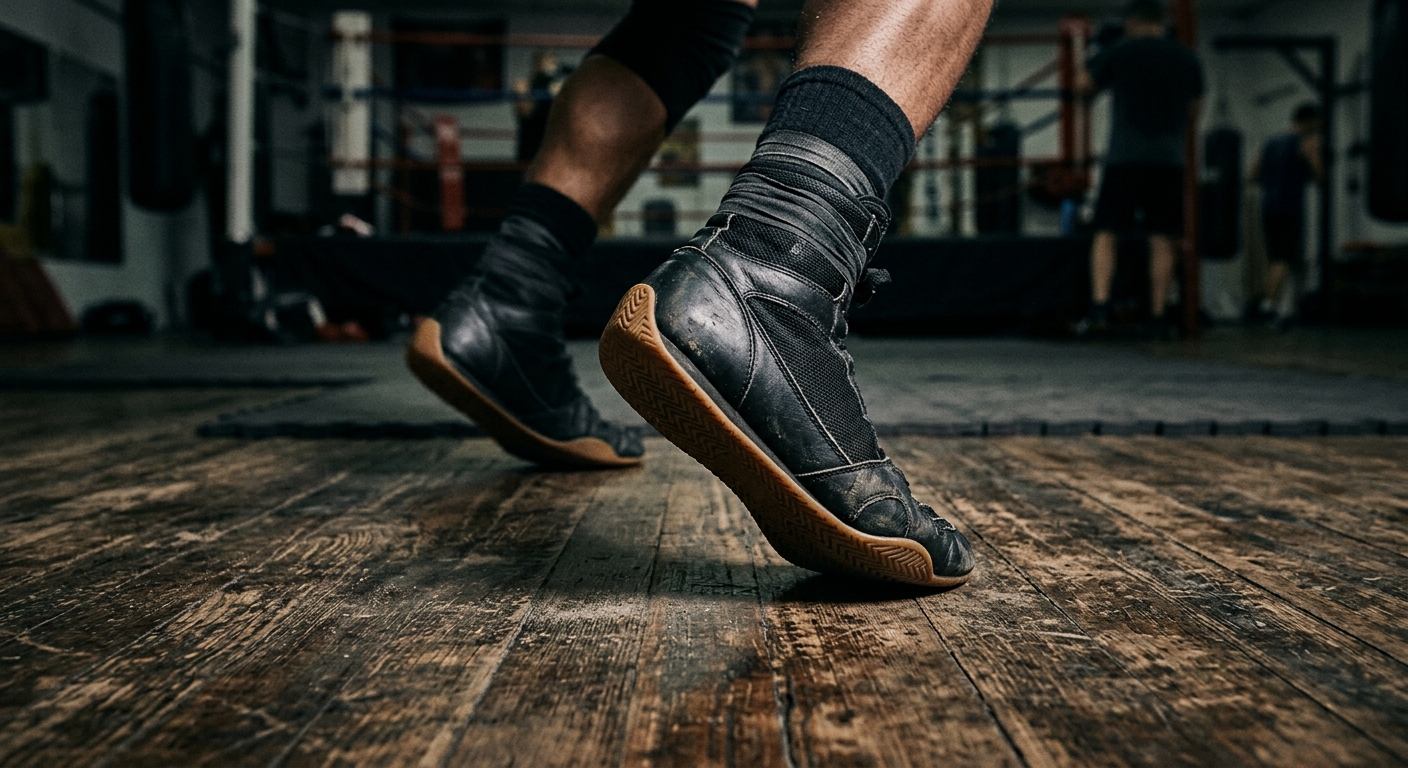
The whole movement starts here. As you begin the punch, your back heel rises off the floor. This is not optional. The heel coming up is what allows your ankle to rotate, which drives the knee inward, which starts the hip turn. If your heel stays flat, your hip won’t rotate properly. Period.
Coaches cue this differently. Some say “push the floor away with your back foot.” Others say “turn your back knee toward the bag.” Both are describing the same thing. Whatever cue works for you, make sure the heel is moving up as the punch goes out, not after.
Step 2: Hip rotation
Once the back leg drives, your rear hip needs to come forward. Think of pointing your belt buckle at the target. The hip doesn’t just shift sideways; it turns. That rotation is where most of the cross’s power comes from. Your arm is just along for the ride at this point.
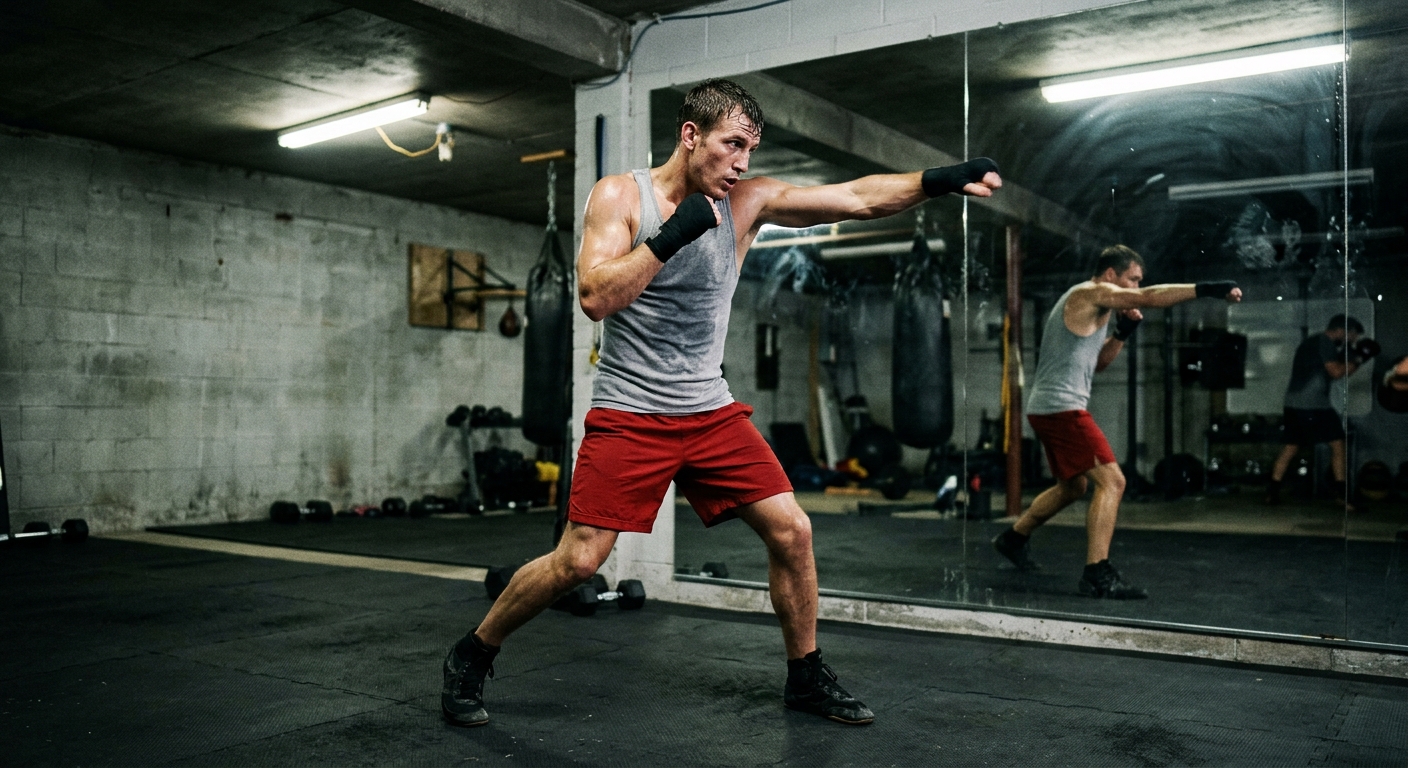
Beginners often rotate their shoulders first and hope the hips follow. It doesn’t work that way. Hips move first. Shoulders follow. Arm last. If you’re struggling to feel this, try standing sideways in front of a mirror and shadowboxing in slow motion. You should see your hip clearly turning before your shoulder does.
Step 3: Torso and shoulder drive
As the hip rotates, the torso uncoils and the rear shoulder drives forward. This is the moment where you feel the cross “click” if you’re doing it right. The shoulder adds another layer of force on top of what the hips already generated. Your arm is still bent at this point; it extends last.
One thing that helps here: keep your lead shoulder up slightly as the cross goes out. This isn’t about tensing up; it’s about protecting your chin while your rear hand is extended. It’s a small detail but it becomes automatic with reps.
Step 4: The arm extends last
The fist leaves the chin only after the body mechanics are already in motion. By the time the arm extends, you should be maybe 80% through the hip rotation already. If you start by extending the arm and hope the body catches up, it won’t.
Aim to land the punch at or near full extension, with your two big knuckles (index and middle finger) contacting the target. Twisting the fist slightly as it lands adds a little extra snap at the end, but that’s polish, not foundation. Get the chain right first.
Weight transfer and balance
Here’s something nobody tells beginners clearly enough: the cross shifts your weight forward. That’s intentional and it’s fine, but you need to be ready for it.
As you throw, somewhere between 55-65% of your body weight moves onto your front foot. This is why you see good boxers immediately returning to a balanced stance after every cross. The worst thing you can do is stay loaded forward. You’re stuck. You can’t move, can’t throw follow-up punches effectively, and you’re easy to hit.
Practice throwing the cross and immediately resetting your stance. Step back, step to the side, or pivot, but get off the spot. This is one of the things that separates guys who throw good single crosses from guys who can actually box. Using a free boxing round timer to drill this with timed intervals helps a lot: you’re forced to practice the full mechanics under a bit of time pressure rather than just throwing single punches with long pauses.
Common mistakes and how to fix them
Telegraphing: winding up or dropping the hand
Some beginners pull their rear hand back before throwing it forward. Others dip the shoulder. Both are tells that give your opponent a full-second warning. The cross should leave from where it sits: chin height, hand relaxed, no cocking back. The power comes from rotation, not from winding up.
Fix: throw the cross from the guard position without any preparatory movement. Shadowbox in front of a mirror and watch the rear hand. If it moves backward before it goes forward, that’s the habit to break.
Arm punching: no hip involvement
This is the big one. If your punch isn’t going through the target (just bouncing off), this is usually the culprit. No hip rotation means the punch has no structure behind it.
Fix: slow everything down to 20% speed. Literally walk through the mechanics step by step. Heel up, knee in, hip rotates, shoulder follows, arm extends. Do it as a slow-motion drill 20 times. Then speed it up to 40%. This feels awkward but it’s how you rebuild muscle memory with the correct pattern rather than just practicing the wrong one faster.
Dropping the lead hand
When you throw the cross, the lead hand wants to drop. It’s a natural counterbalance. But dropping it leaves your face completely open for a counter left hook, which is the first thing any experienced boxer will look for.
Fix: train yourself to keep the lead hand at cheekbone level as the cross goes out. Some coaches use the cue “push the lead hand toward your chin” as a reminder. You can also practice with a training partner holding their hand where your chin is; try to keep your lead fist from dropping below their hand level.
Over-rotating and losing balance
Trying to add more power by rotating further than your structure allows throws off balance and slows the recovery. You end up twisted around and exposed. Power doesn’t come from more rotation; it comes from faster, more coordinated rotation with full structural engagement.
Fix: keep your back foot from coming all the way off the floor. The heel rises, the foot pivots, but the toe stays connected. That toe contact is your brake. It prevents you from spinning around too far and keeps you balanced for the next shot.
Drills that actually build the cross
Slow-motion wall drill
Stand in your fighting stance with your rear fist about 4 inches from a wall. Throw a slow-motion cross until your fist touches the wall. Focus only on the sequence: heel, knee, hip, shoulder, arm. This isolates the mechanics without the distraction of a target. Do 3 sets of 15 per session when you’re working on correcting your cross.
Jab-cross on the bag at half power
Throw jab-cross combinations at 50% power with full attention on mechanics. This is harder than it sounds. Humans naturally want to muscle up as soon as a real bag is involved. Stay disciplined. Speed and power come with time; correct mechanics come from deliberate repetition at controlled intensity. Getting your jab sharp first makes the combination feel much more natural.
Pivot and cross
Throw a cross, then immediately pivot 45 degrees to the outside. This forces you to practice the recovery and trains you to move off the spot after the punch. It also gives you a realistic idea of how the cross fits into actual movement, not just static drilling.
Cross to the body
The cross doesn’t only go to the head. A rear cross to the liver (dropping slightly, driving the punch into the body) uses the same hip mechanics but from a different angle. This is worth practicing because a good body cross can do serious damage and most people drill almost exclusively head shots. Advanced boxers vary their targets consistently, and the body cross is often one of the first weapons they develop.
How the cross connects to your combinations
In isolation, the cross is useful. Paired with the jab, it’s one of the two or three most effective combinations in boxing. The jab sets the range and timing; the cross delivers the power. That 1-2 rhythm is the foundation of almost every combination you’ll ever throw.
From there, the cross connects naturally to the lead hook. After a 1-2, your weight has shifted forward and your lead shoulder is forward; that’s already in position for a hook. The 1-2-3 combination exists because of how the cross sets up the left hook mechanically. Understanding the difference between a lead and rear hook is the natural next step once your cross feels solid.
The cross also opens up the uppercut as a follow-up. After the cross, your right shoulder is forward and low; rotating back upward into a rear uppercut is a short movement with a lot of torque. This is something to explore once the basic cross mechanics are locked in.
Defense while throwing the cross
The cross leaves you exposed for a split second. Both hands are committed (one is extended, one should be guarding). Your chin is accessible if you rotate past your structure. Here’s how to manage that:
- Keep your lead shoulder raised as a chin guard as you extend
- Tuck your chin slightly toward the rear shoulder as you throw
- Don’t lock your eyes on one spot; stay aware of what’s coming back
- Return to your guard position the moment the punch lands
Guys who throw crosses recklessly, without thinking about what happens next, get countered hard. The jab from your opponent on the way in is the most common counter to a slow, telegraphed cross. The other is a left hook timed to your extension. Both can be avoided by throwing a sharp, quick cross and immediately resetting.
Building power over time
Power in the cross develops in a specific order. First come mechanics, then speed, then power. This isn’t motivational advice; it’s how biomechanics work. You cannot shortcut the sequence by just trying to punch harder.
Shadowboxing builds coordination. Bag work builds timing and application. Pad work builds speed and responsiveness. Strength training (specifically rotational work: cable woodchops, med ball rotational throws, hip hinge patterns) builds the physical capacity to generate more force through the kinetic chain you’ve built.
A well-conditioned fighter who has dialed in their mechanics will hit harder after 8 rounds than a beginner who “hits hard” after round 1 and then collapses into arm punching. Conditioning matters. Structured training with proper round intervals, like what the Heavy Bag Pro app provides, helps you develop the endurance to maintain technique when you’re tired, which is exactly when mechanics fall apart for most people.
Researchers studying punching biomechanics at sports science institutions like the University of Auckland have found that ground reaction force, hip-to-shoulder separation, and wrist alignment are the three biggest contributors to cross power. All three are technique issues, not strength issues, for anyone without elite physical conditioning.
A simple weekly structure for improving your cross
If you want to actually fix your cross rather than just read about it, here’s a workable 4-week structure:
Week 1: Slow-motion drills only. 3x per session. No power. Focus on the heel-knee-hip-shoulder sequence and nothing else.
Week 2: Add the bag. Half power, full mechanics. 3-minute rounds, one round of just jab-cross at 50%. Film yourself from the side if you can.
Week 3: Combinations. Start adding the hook after the cross. Work on transitions. Keep 1 round per session as pure mechanics-check at half power.
Week 4: Bring it together. Full-speed sparring or pad work with your new cross. Pay attention to when the mechanics break down. That’s usually when you’re tired, when you’re rushed, or when you’re trying to hit harder than your conditioning allows.
One thing to remember
The cross is not complicated. But it takes longer to feel natural than most people expect, because the right way to throw it feels less powerful at first than the wrong way. Pushing with your arm feels immediate and satisfying. Using your whole body feels strange until it clicks. Trust the process, slow it down when it breaks, and the power will follow the mechanics once the mechanics are there.
If you want a structured way to practice, the Heavy Bag Pro app at heavybag.pro/boxingtimer/ gives you round-based drill prompts with rest intervals built in, which is a better training environment than just wailing on a bag for as long as you feel like it.